
No products in the cart.
Quick answer: One person can assemble this 9 kg foldable product display counter in about 30 minutes without tools. The letter-marked aluminum tubes connect by hand, the wooden worktop seats onto the base, the dye-sublimated stretch-fabric graphic secures around the counter, and the acrylic shelves complete a compact 170 cm-high product display tower.
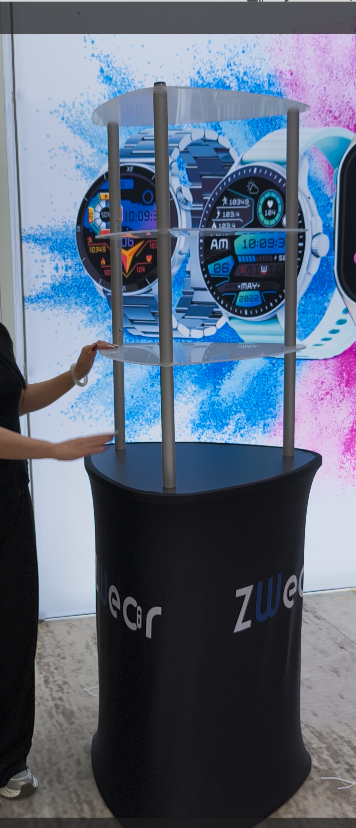
Project overview
This factory assembly case demonstrates how a folding reception desk can combine a branded counter, compact footprint and multi-level product display in one portable kit. It is designed for exhibitors, retail activation teams and product demonstrators who want a reusable portable trade show counter that does not require specialist installation labor.
| Specification | Confirmed detail |
|---|---|
| Finished size | 64 × 52 × 170 cm |
| Packed size | 14 × 43 × 63 cm |
| Net weight | 9 kg |
| Installation | 1 person, about 30 minutes |
| Tools required | None |
| Recommended total load | Up to 10 kg, evenly distributed |
| Countertop | Wood board |
| Display shelves | Acrylic |
| Graphic | Stretch fabric with dye-sublimation printing |
| Transport | Oxford fabric carry bag included |
| Expected reuse | At least 2 years with proper handling and storage |
Buyers can review the Portable Folding Triangle Tension Fabric Oval Display Tower or browse QuicklyShow’s portable table collection for related configurations.
How is the foldable product display counter assembled?
The installation sequence is intentionally simple. A first-time user should allow approximately 30 minutes and work on a clean, level surface so that the graphic and acrylic shelves remain protected.
Step 1: Unpack and identify the components
Remove the wooden panels, aluminum tubes, fabric graphic and acrylic shelves from the Oxford fabric carry bag. Place the parts on the floor in installation order and check the letter labels before beginning. This reduces guesswork and makes the system practical for one-person assembly.
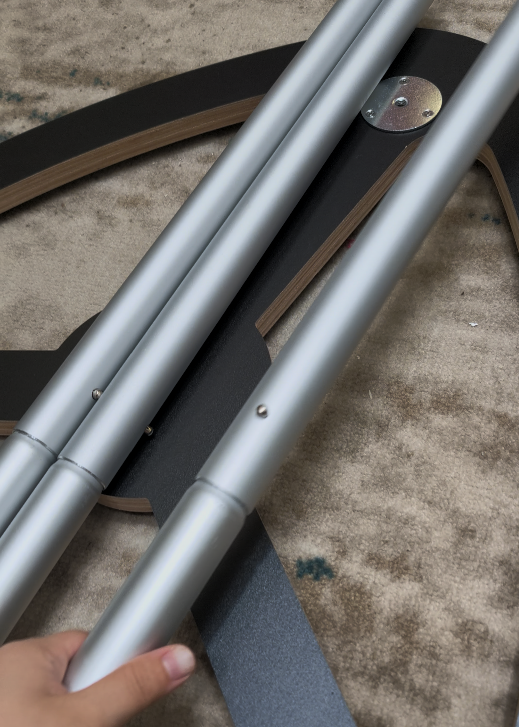
Step 2: Match the letters and connect the tubes
Connect the aluminum tube sections according to the letters printed on them. The sections lock together by hand and do not require drills, spanners or other installation tools. Keep each completed post beside its corresponding mounting point.
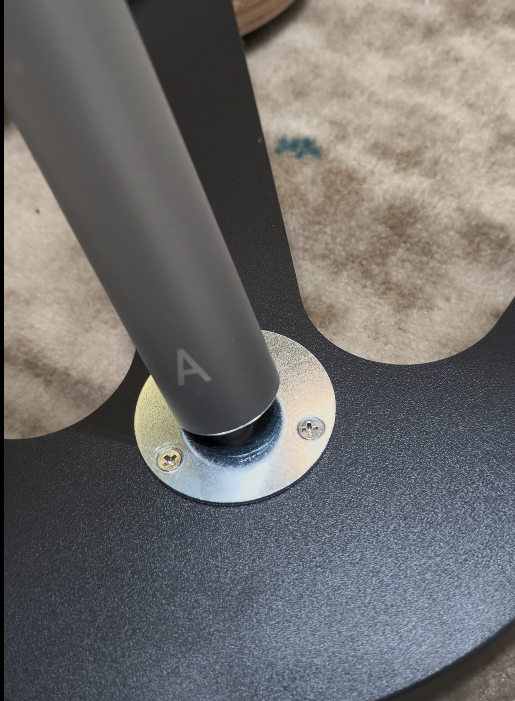
Step 3: Install the posts into the base
Screw each assembled post into the matching fitting on the counter base. Tighten by hand until the post is stable. The letter system helps the installer maintain the correct orientation and avoids the need to interpret complicated technical drawings on the show floor.
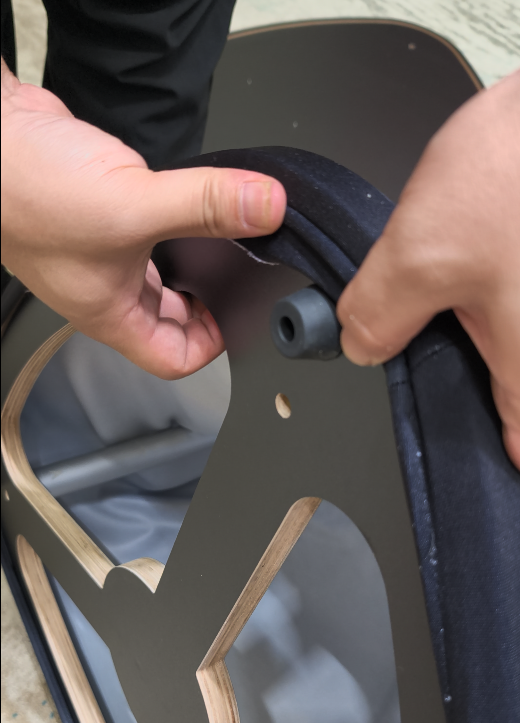
Step 4: Position the wooden countertop and printed fabric
Place the wooden countertop onto the assembled base. Wrap the custom graphic around the counter body and secure its sewn edge gradually around the perimeter. The elastic fabric helps create a smooth surface, while dye-sublimation printing produces a bright, durable branded image without adding rigid disposable wall panels.
Step 5: Secure the graphic around the side
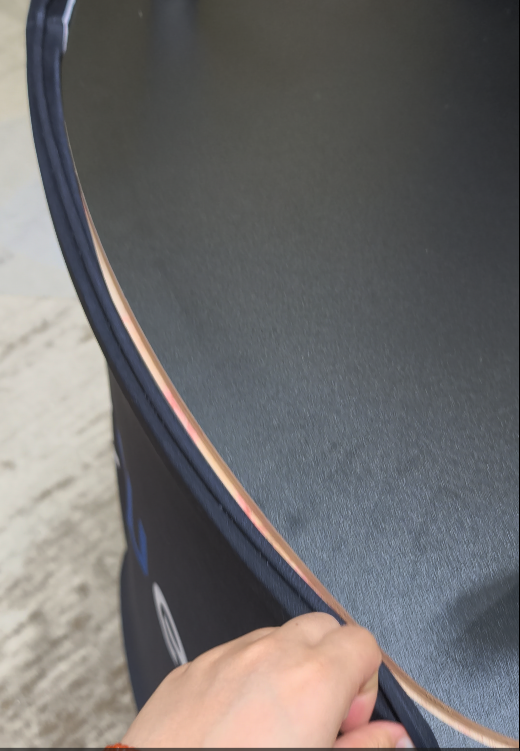
Continue pressing the graphic edge into position around the shaped panel. Avoid pulling one area too tightly. Even tension gives the portable display counter a cleaner finish and makes it easier to remove the graphic later for replacement, cleaning or storage.
Step 6: Add the acrylic product shelves
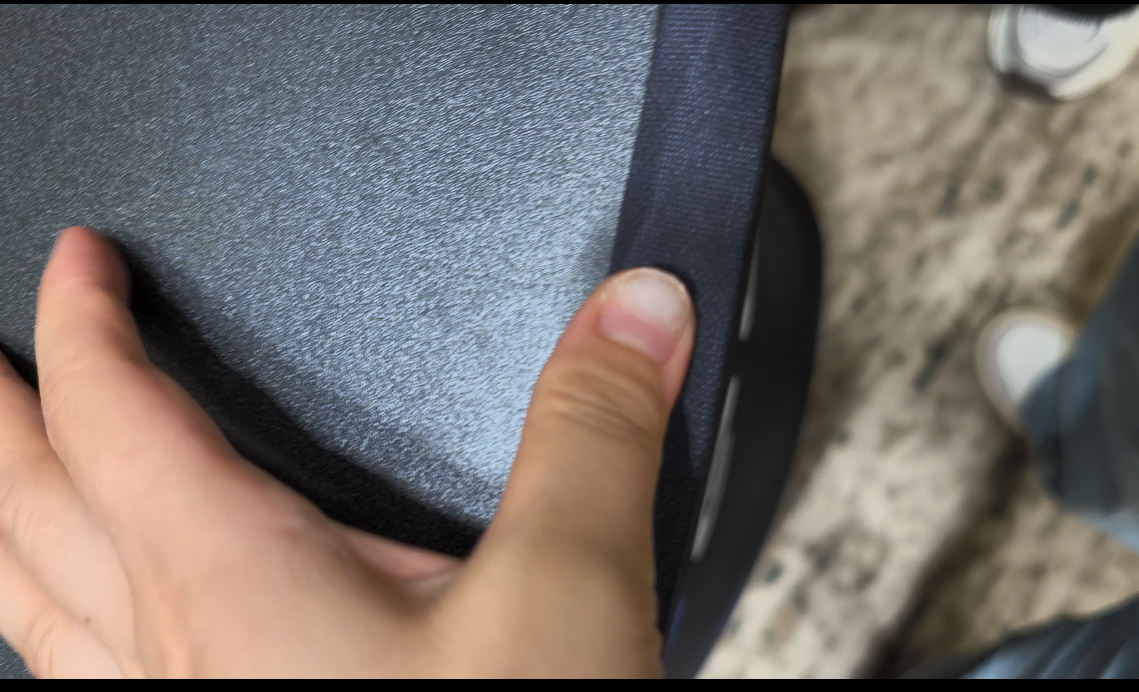
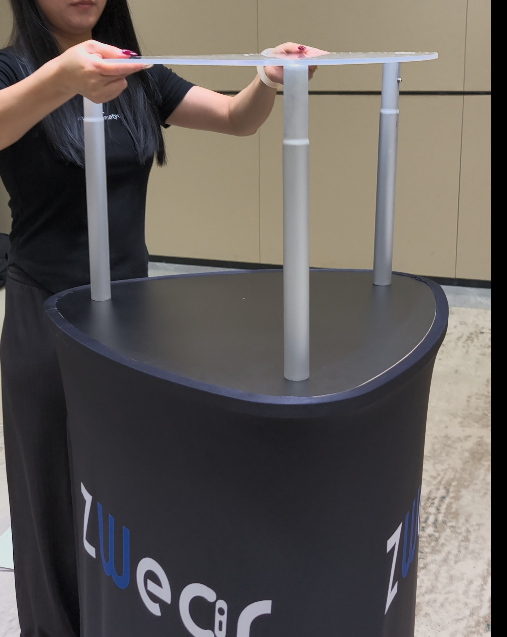
Connect the upper posts using the same letter-matching method. Lower each acrylic shelf onto the posts and confirm that every contact point is seated correctly before adding the next level. The transparent shelves keep the structure visually light and allow products to remain visible from several directions.
Step 7: Complete the load and stability check
Check that the countertop and shelves sit flat, all posts are fully connected and the graphic is secure. The recommended total load is up to 10 kg when products are distributed evenly. Do not place the entire load on one acrylic shelf or concentrate it at one edge.
Why does this design work for frequent exhibitors?
- One-person installation: Setup takes about 30 minutes without a specialist booth crew.
- Tool-free connections: Letter-marked components connect and hand-tighten in sequence.
- Compact transport: The 9 kg system packs to approximately 14 × 43 × 63 cm inside the supplied Oxford fabric bag.
- Replaceable branding: The stretch-fabric graphic can be changed while the main structure remains in service.
- Reusable structure: With careful handling and dry indoor storage, the counter can normally be reused for at least two years.
Care, dismantling and storage
Remove merchandise first, then lift off the acrylic shelves and protect them with separators. Release the fabric gradually, disconnect the marked tubes and keep matching sections together. The graphic should be clean and dry before it is folded loosely. Return every component to the Oxford fabric bag and store it indoors away from moisture, impact and prolonged heat.
Frequently asked questions
Can one person assemble this folding reception desk?
Yes. One person can normally complete the tool-free installation in about 30 minutes by following the letter marks on the tubes.
What are the finished and packed dimensions?
The finished size is 64 × 52 × 170 cm. The packed size is approximately 14 × 43 × 63 cm.
How much weight can the display hold?
The recommended total load is up to 10 kg when products are evenly distributed across the counter and display levels.
Can the printed graphic be replaced?
Yes. The dye-sublimated stretch-fabric graphic is separate from the aluminum, wooden and acrylic components, so branding can be updated for a new campaign.
How long can the counter be reused?
Under normal exhibition use and correct indoor storage, the product can typically be reused for at least two years. Actual service life depends on transport, handling and storage conditions.
Buyer takeaway
This assembly case shows how a tool-free display counter can provide reception space, strong printed branding and vertical product presentation in one compact kit. For exhibitors seeking a reusable portable exhibition display stand, the letter-matched aluminum structure simplifies setup while the replaceable tension-fabric graphic supports future campaigns.
View the foldable product display tower or explore the complete portable trade show counter range for customization options.