No products in the cart.
Trade Show Booth Graphic Design: 10 Rules for a Clearer Exhibit
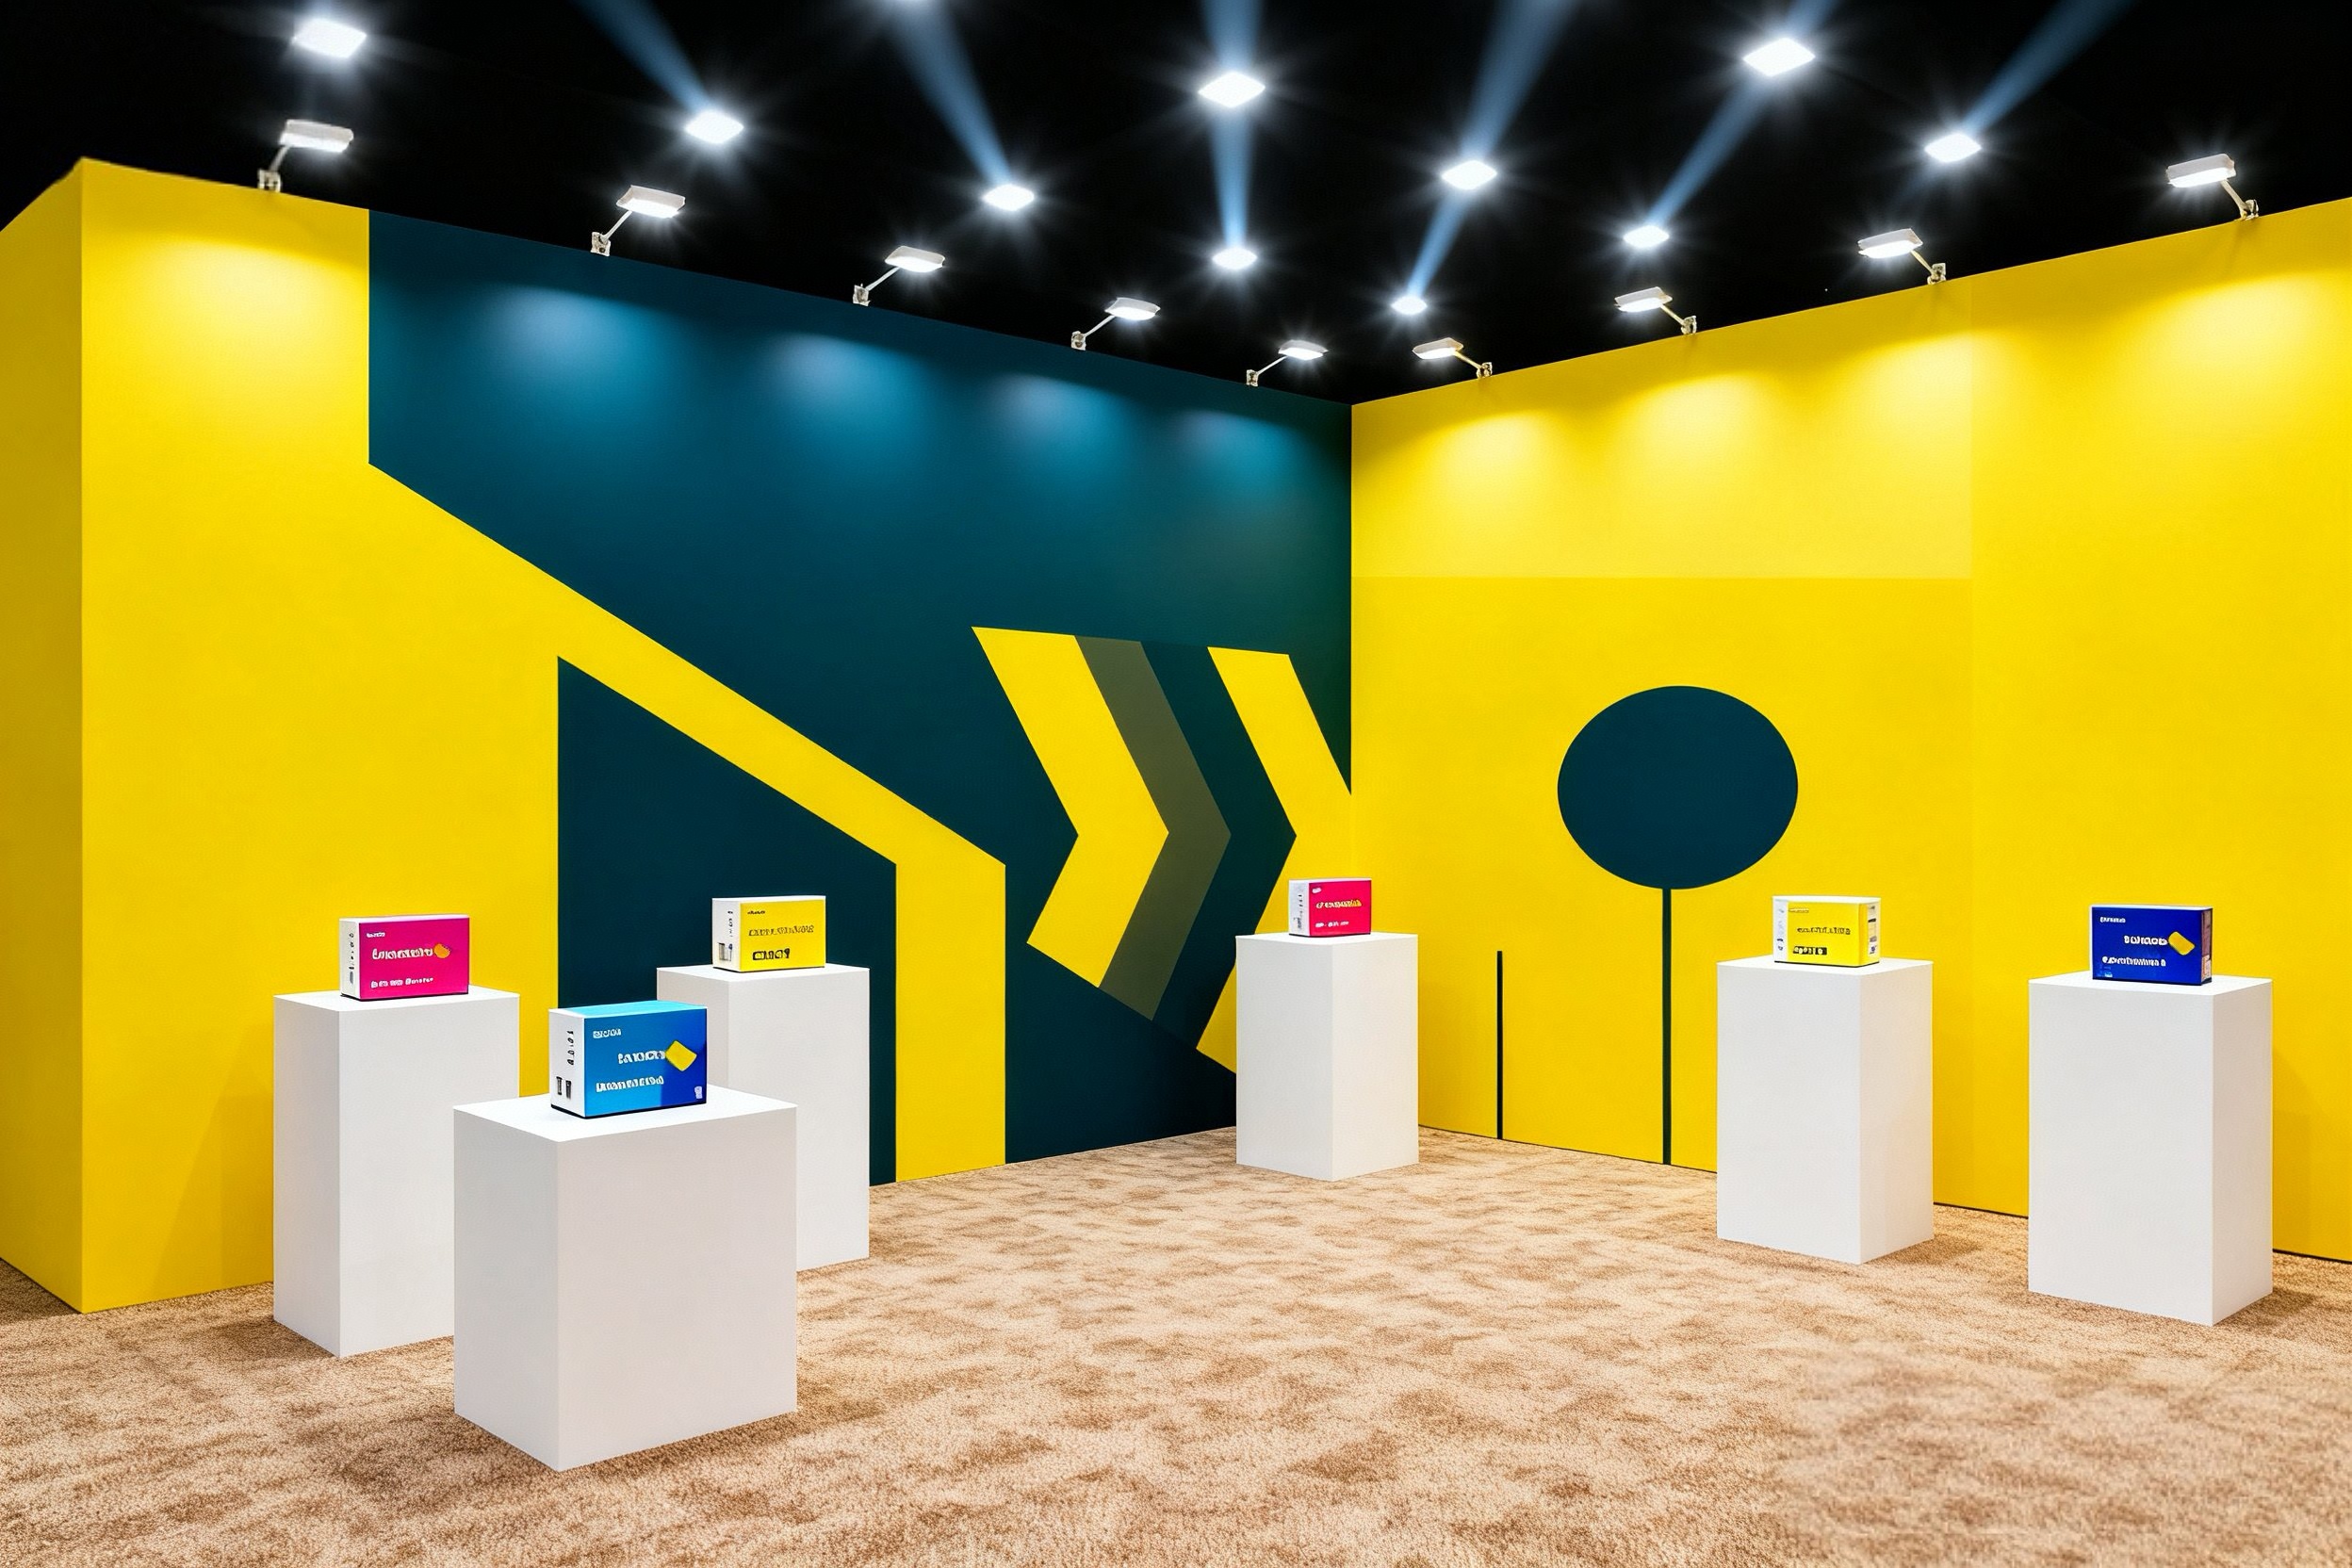
Trade show booth graphics should help a relevant visitor understand what you offer and where to engage. A large printed wall has room for information, but that does not mean every part of the wall should carry equal emphasis.
Use these ten rules to organize your booth graphic design before sending artwork to production. Each rule addresses a decision the team can review with an actual layout, print template or sample.
1. Choose one primary visitor question
Write the question the display needs to answer first: what is the product, who is it for or what can the visitor do here? Choose the one most relevant to the event. Other information can support it at closer range. If the team disagrees about the main question, resolve that before arranging logos and photographs.
2. Separate distance, approach and detail
Create three information levels. The most prominent level identifies the offer. The next helps someone decide whether to approach. Detailed specifications belong where an interested visitor can examine them. Do not expect one wall paragraph to perform all three jobs. Place each level at its intended viewing position during the review.
3. Use the actual production template
Design for the selected frame and graphic finishing. Mark seams, panel boundaries, safe areas and attachment zones using the supplier's instructions. A custom printed fabric booth is a physical assembly, not just a rectangular canvas. A file that looks balanced on screen may put a face or logo across an awkward join.
4. Check photographs at final size
Ask the printer to assess the image at the intended output dimensions. A file's stated resolution means little without the scale at which it will print. Review the crop as well as image detail: enlarging a photograph can remove the part that explains the product. Request a relevant sample section when the result is uncertain.
5. Design around people and furniture
Place counters, screens, samples and standing visitors into the elevation drawing. Check what remains visible. Important text that disappears behind a person or tabletop needs another position. Review both a quiet booth and an occupied booth rather than relying on an empty rendering.
6. Give each panel a clear role
Decide whether a panel introduces the brand, explains a product or directs an action. Repeating the same large logo on every panel can use space needed for visitor guidance. Conversely, unrelated messages can make one exhibit look like several companies. Define the panel roles before choosing their individual layouts.
7. Test the headline in context
Display or print the proposed headline at a realistic size and assess it from the planned viewing position. Test the actual font, background and lighting. Invite someone unfamiliar with the project to explain what they understand. Treat confusion as a revision task rather than assuming the sales team will explain everything verbally.
8. Make the call to action usable
Choose an action that fits the visitor's stage: inspect a sample, watch a demonstration or request specifications. Put the prompt beside the place where the action happens. If you use a QR code, test the printed code at its intended size and position, and verify that its destination works on a phone.
9. Approve color on the relevant material
For a fabric print display, confirm the printer's proofing process and the production material. Review important colors in the intended lit or unlit condition. Different surfaces and illumination can produce different appearances. Keep the approved sample or reference with the job specification for later graphic replacements.
10. Lock the production version
Give one person responsibility for final approval. Check spelling, product names, contact details, image permissions and file version. Label the approved artwork clearly and archive earlier drafts away from the production folder. A correct layout can still fail if the printer receives an obsolete campaign or reversed panel file.
Put the rules into one review
Review the plan view, elevation, production template and visitor activity together. Record specific revisions: move a headline, change a crop or replace a low-resolution image. Avoid vague instructions such as “make it more premium,” which do not identify the problem to solve.
Before approving the full order, confirm how revisions affect production timing. The final review is most useful when it happens before the print deadline rather than during installation.
Frequently asked questions
Should every graphic contain a website address? Include it where it serves a clear action and remains readable; it does not need equal emphasis on every panel.
Can I reuse website artwork for a booth? You can reuse suitable assets, but reorganize them for scale, distance and the physical template.
Should I use fewer words? Remove words that do not serve the intended information level. Necessary detail can remain in the appropriate close-view location.
Send QuicklyShow your booth layout, artwork and key visitor action to discuss production-ready graphic requirements.
