
No products in the cart.
10×20 Booth Design Ideas with Floor Plans for Different Exhibit Goals
A 10×20 booth provides 200 square feet, approximately 18.58 square meters. If the 20-foot edge faces the aisle, the space offers a wide presentation frontage but only ten feet of depth. That combination makes it useful for two related activities—provided visitors can understand where to go.
An effective 10×20 booth layout gives each activity a purpose and protects the connection between them. Adding furniture across the full width can turn the extra frontage into a series of obstacles.
Confirm which edge faces the aisle
Before starting your 10×20 trade show booth design, obtain the organizer's floor plan. A 20-foot frontage and a ten-foot frontage produce very different visitor experiences. Columns, service connections and neighboring structures can also affect placement.
The three concepts below assume a 20-foot-wide front aisle and a ten-foot depth. They are planning options rather than measured installation drawings.
Floor plan A: Demonstration plus follow-up
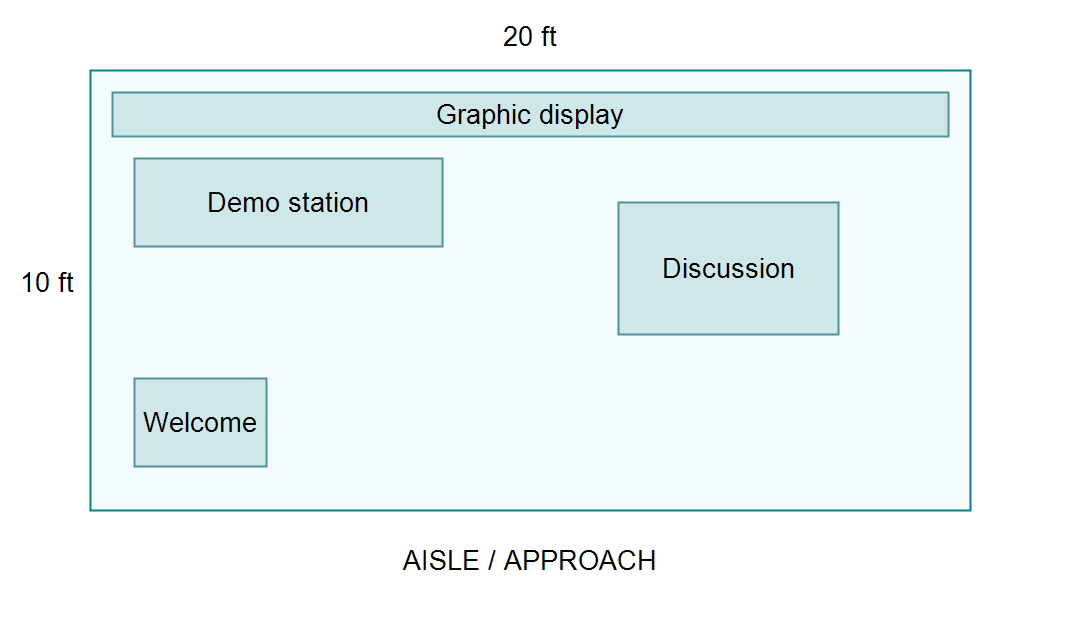
Use the left half for a product demonstration and the right half for discussion after it. Put the demonstration equipment near the rear, with viewers standing inside the footprint. Place a compact consultation surface in the other half and leave a connection between the two activities.
This arrangement helps a presenter hand an interested visitor to another colleague without stopping the next demonstration. Decide where that handoff happens. If both team members gather in the middle, the transition can become the busiest part of the booth.
Begin with two ten-foot-wide zones, then adjust their size around the actual equipment. A physical demonstration may need more space than a software presentation; a consultation area may need less furniture than expected.
Floor plan B: Compare two product families
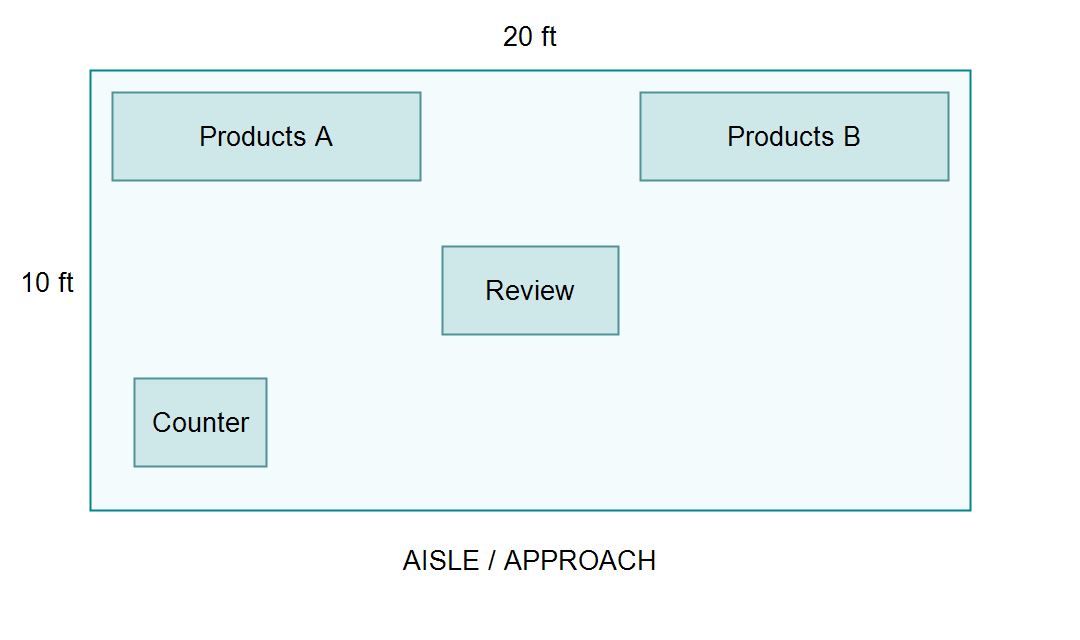
Give each product family a distinct display area along the rear and place a shared sample-review surface between them. Visitors can inspect the relevant range, bring a sample to the review point and discuss differences without crossing into an unrelated presentation.
Use consistent labels so comparisons are easy. If one range uses technical specifications and the other uses marketing slogans, the visitor has to do extra work. Align the information categories before finalizing the graphics.
Store replacement samples near the side where they will be used. A long booth becomes inefficient when staff repeatedly carry stock through the visitor area.
Floor plan C: Appointments with a welcome point
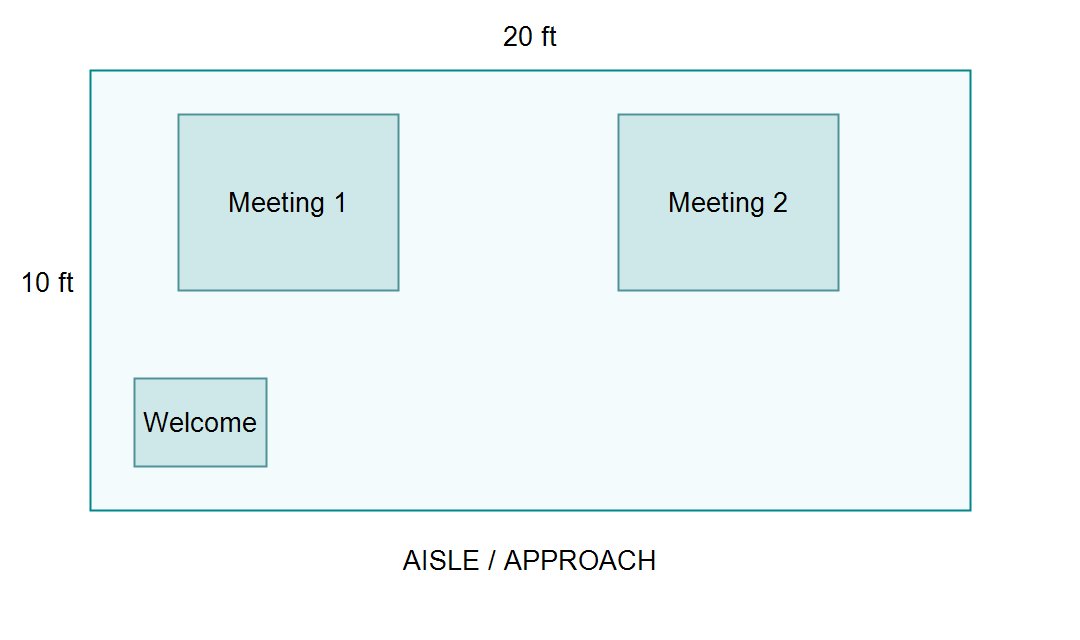
For an appointment-led event, place two compact discussion areas toward the rear and reserve the front for arrival and orientation. Offset the welcome counter so staff can greet visitors without forming a continuous barrier.
Draw both tables with occupied chairs. Then test whether an arriving visitor can reach either meeting without interrupting the other. If the required furniture leaves no useful waiting space, stagger appointments or move one meeting function outside the booth.
This is a good example of why additional area does not automatically create privacy. Sound, sightlines and neighboring activities still matter. For sensitive conversations, arrange an appropriate separate meeting space.
Build storage and services into the first drawing
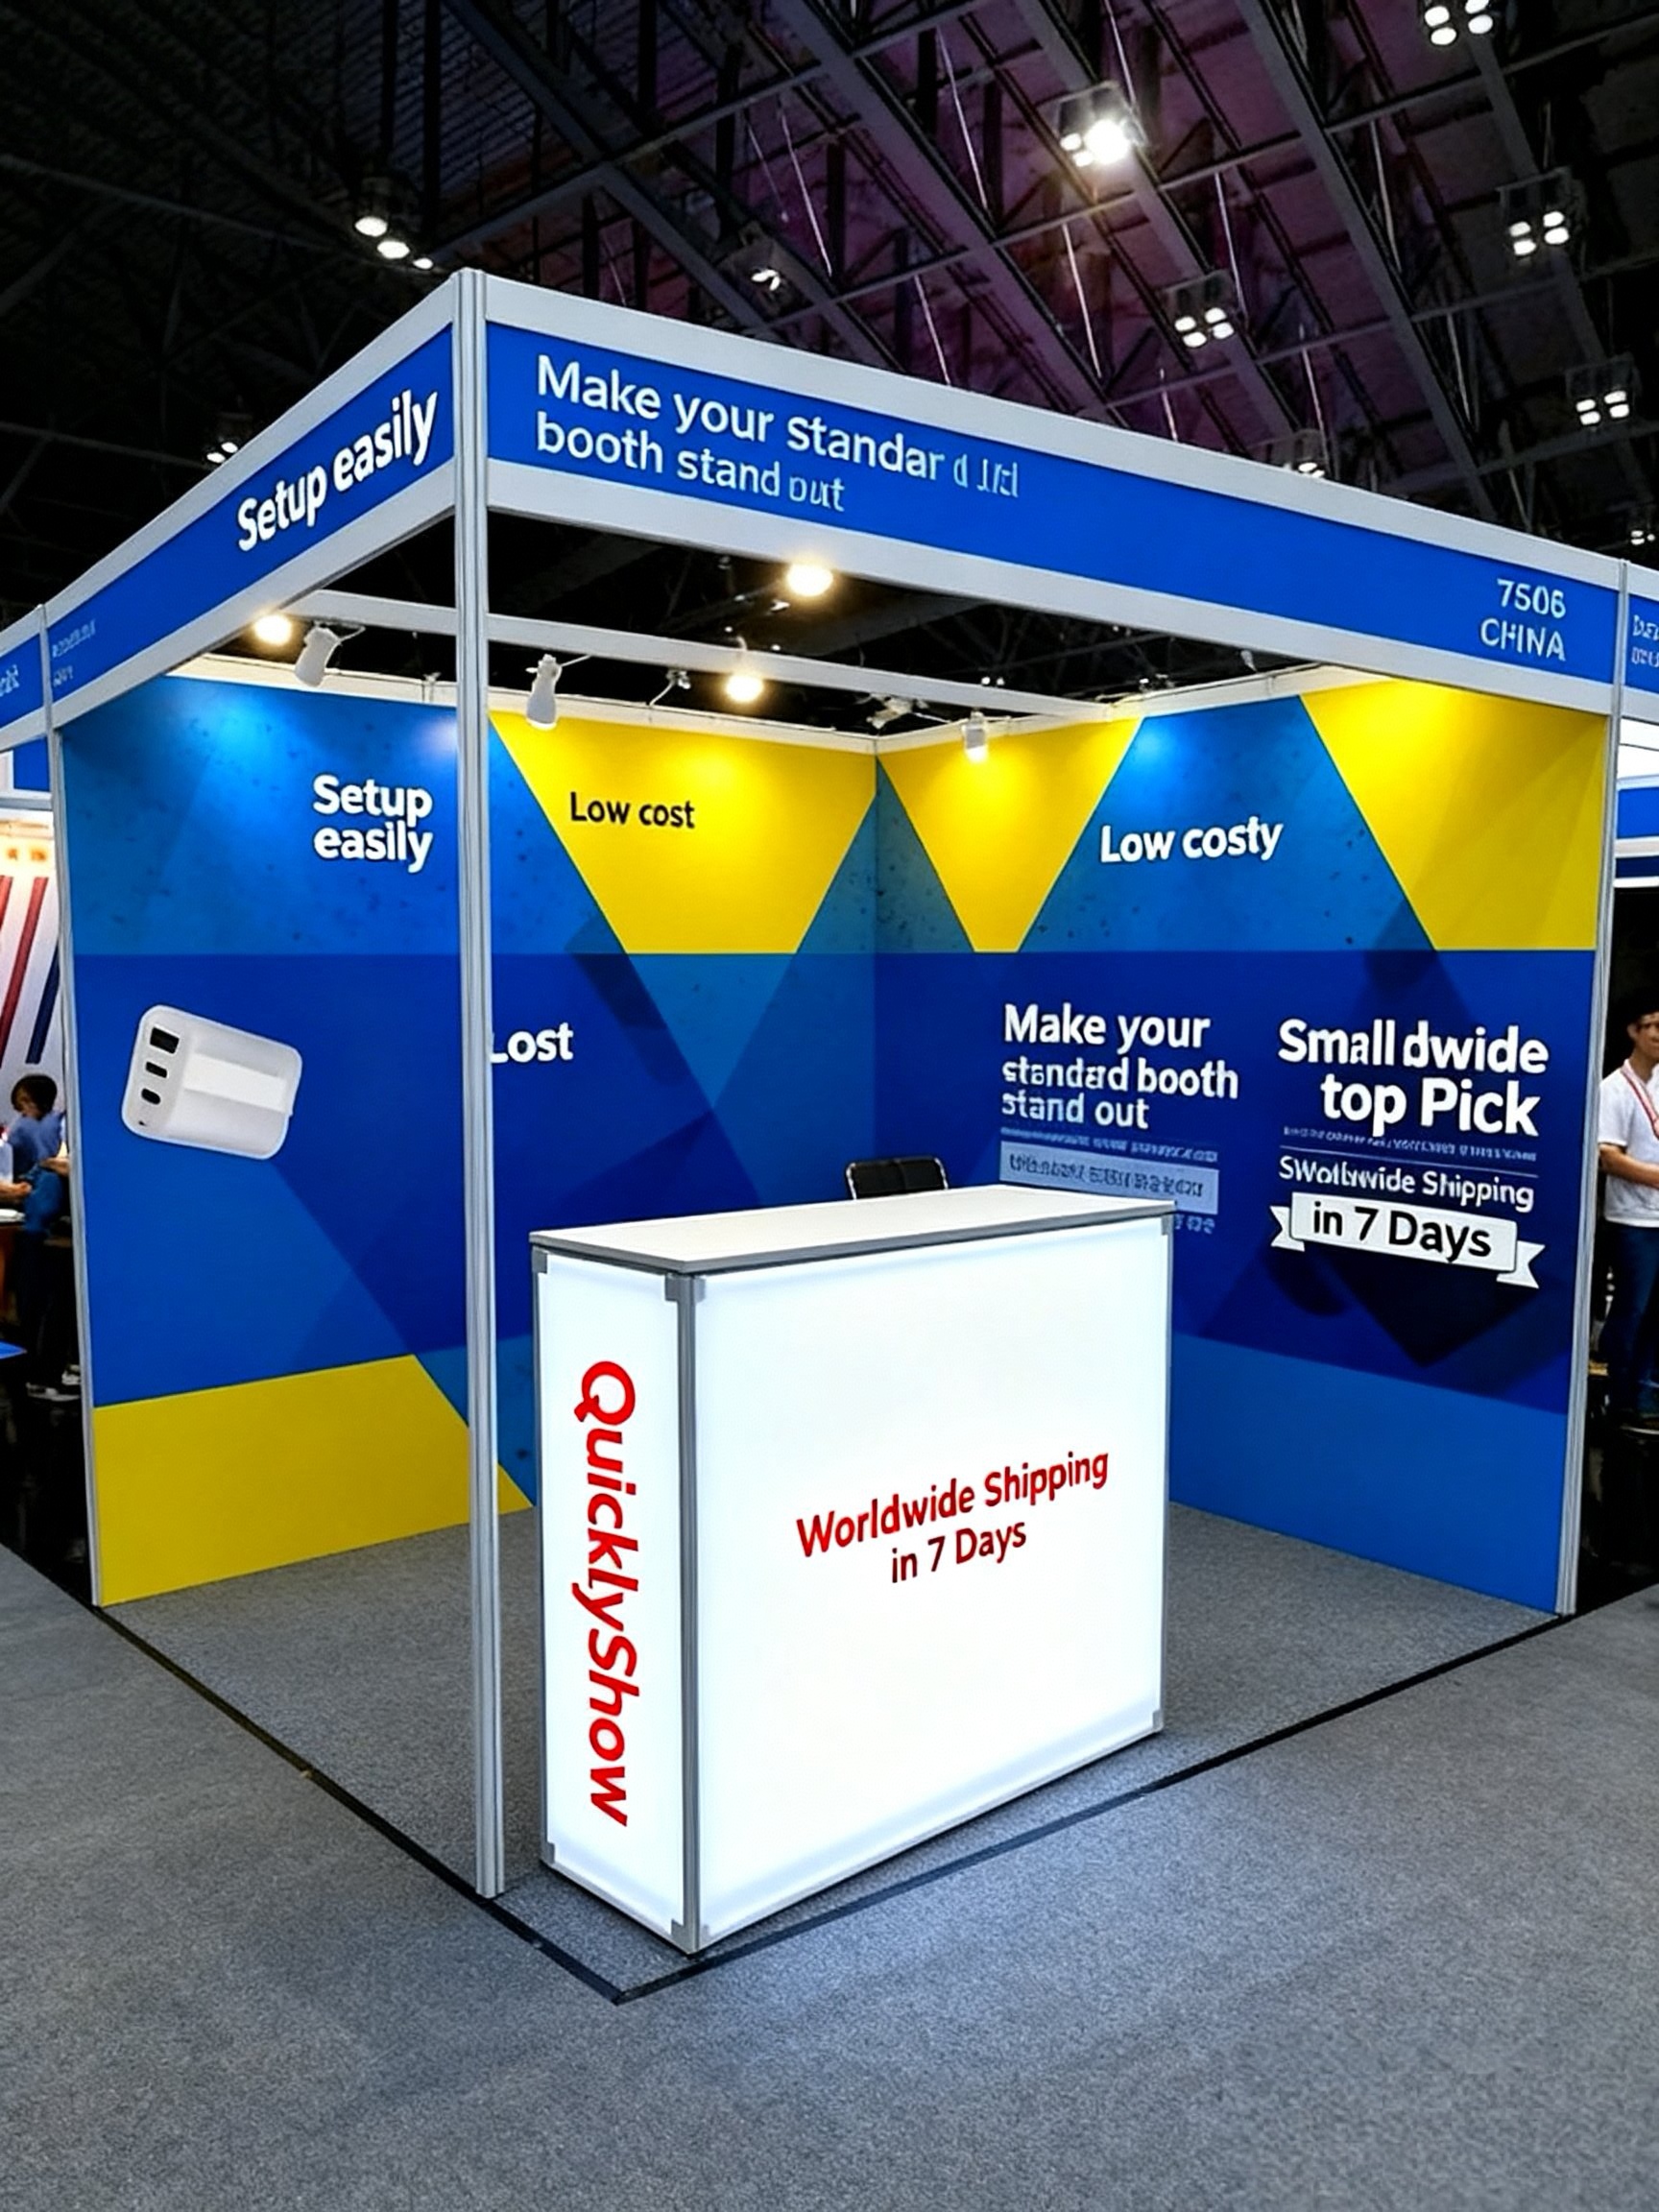
List what the booth must hold: samples, literature, giveaways, cleaning materials, personal items and empty cases. Allocate storage before the furniture order. Do not assume that an attractive reception counter will hold all of it.
Mark electrical and data needs next to the equipment they serve. Ask how cables reach those positions and how storage remains accessible during operating hours. A floor plan should show the working exhibit, including open doors and servicing movements.
Consider a modular kit across your event calendar
A modular booth system kit may help support more than one arrangement, but compatibility must be checked at component level. Request a parts list for each intended layout, including connectors, bases, monitor supports and graphics.
Also compare packing plans. A custom trade show booth that can be reconfigured may still require different cases or additional installation steps. Review the full process from unpacking to repacking.
Frequently asked questions
Does a 10×20 booth need a central wall? No. Add a divider only when it supports a specific display or separation need and leaves workable circulation.
Should the whole front edge be open? Keep useful entrances open, but reserve enough internal space for people to stop. A wide entrance alone does not prevent congestion.
Can I use two existing 10×10 displays? They may work together, but check assembled depth, visual alignment and physical connections. Two separate kits are not automatically a compatible system.
Send QuicklyShow your floor plan, product dimensions and preferred activities to discuss a 10×20 exhibition booth configuration.
