
No products in the cart.
SEG Slim Lightbox Booth Case: Illuminated Graphics and an Open Exhibition Layout
A trade show booth needs to communicate from several distances. Visitors approaching along the aisle need a clear brand signal. Those standing nearby need readable product information. Once they enter, they need space to talk.
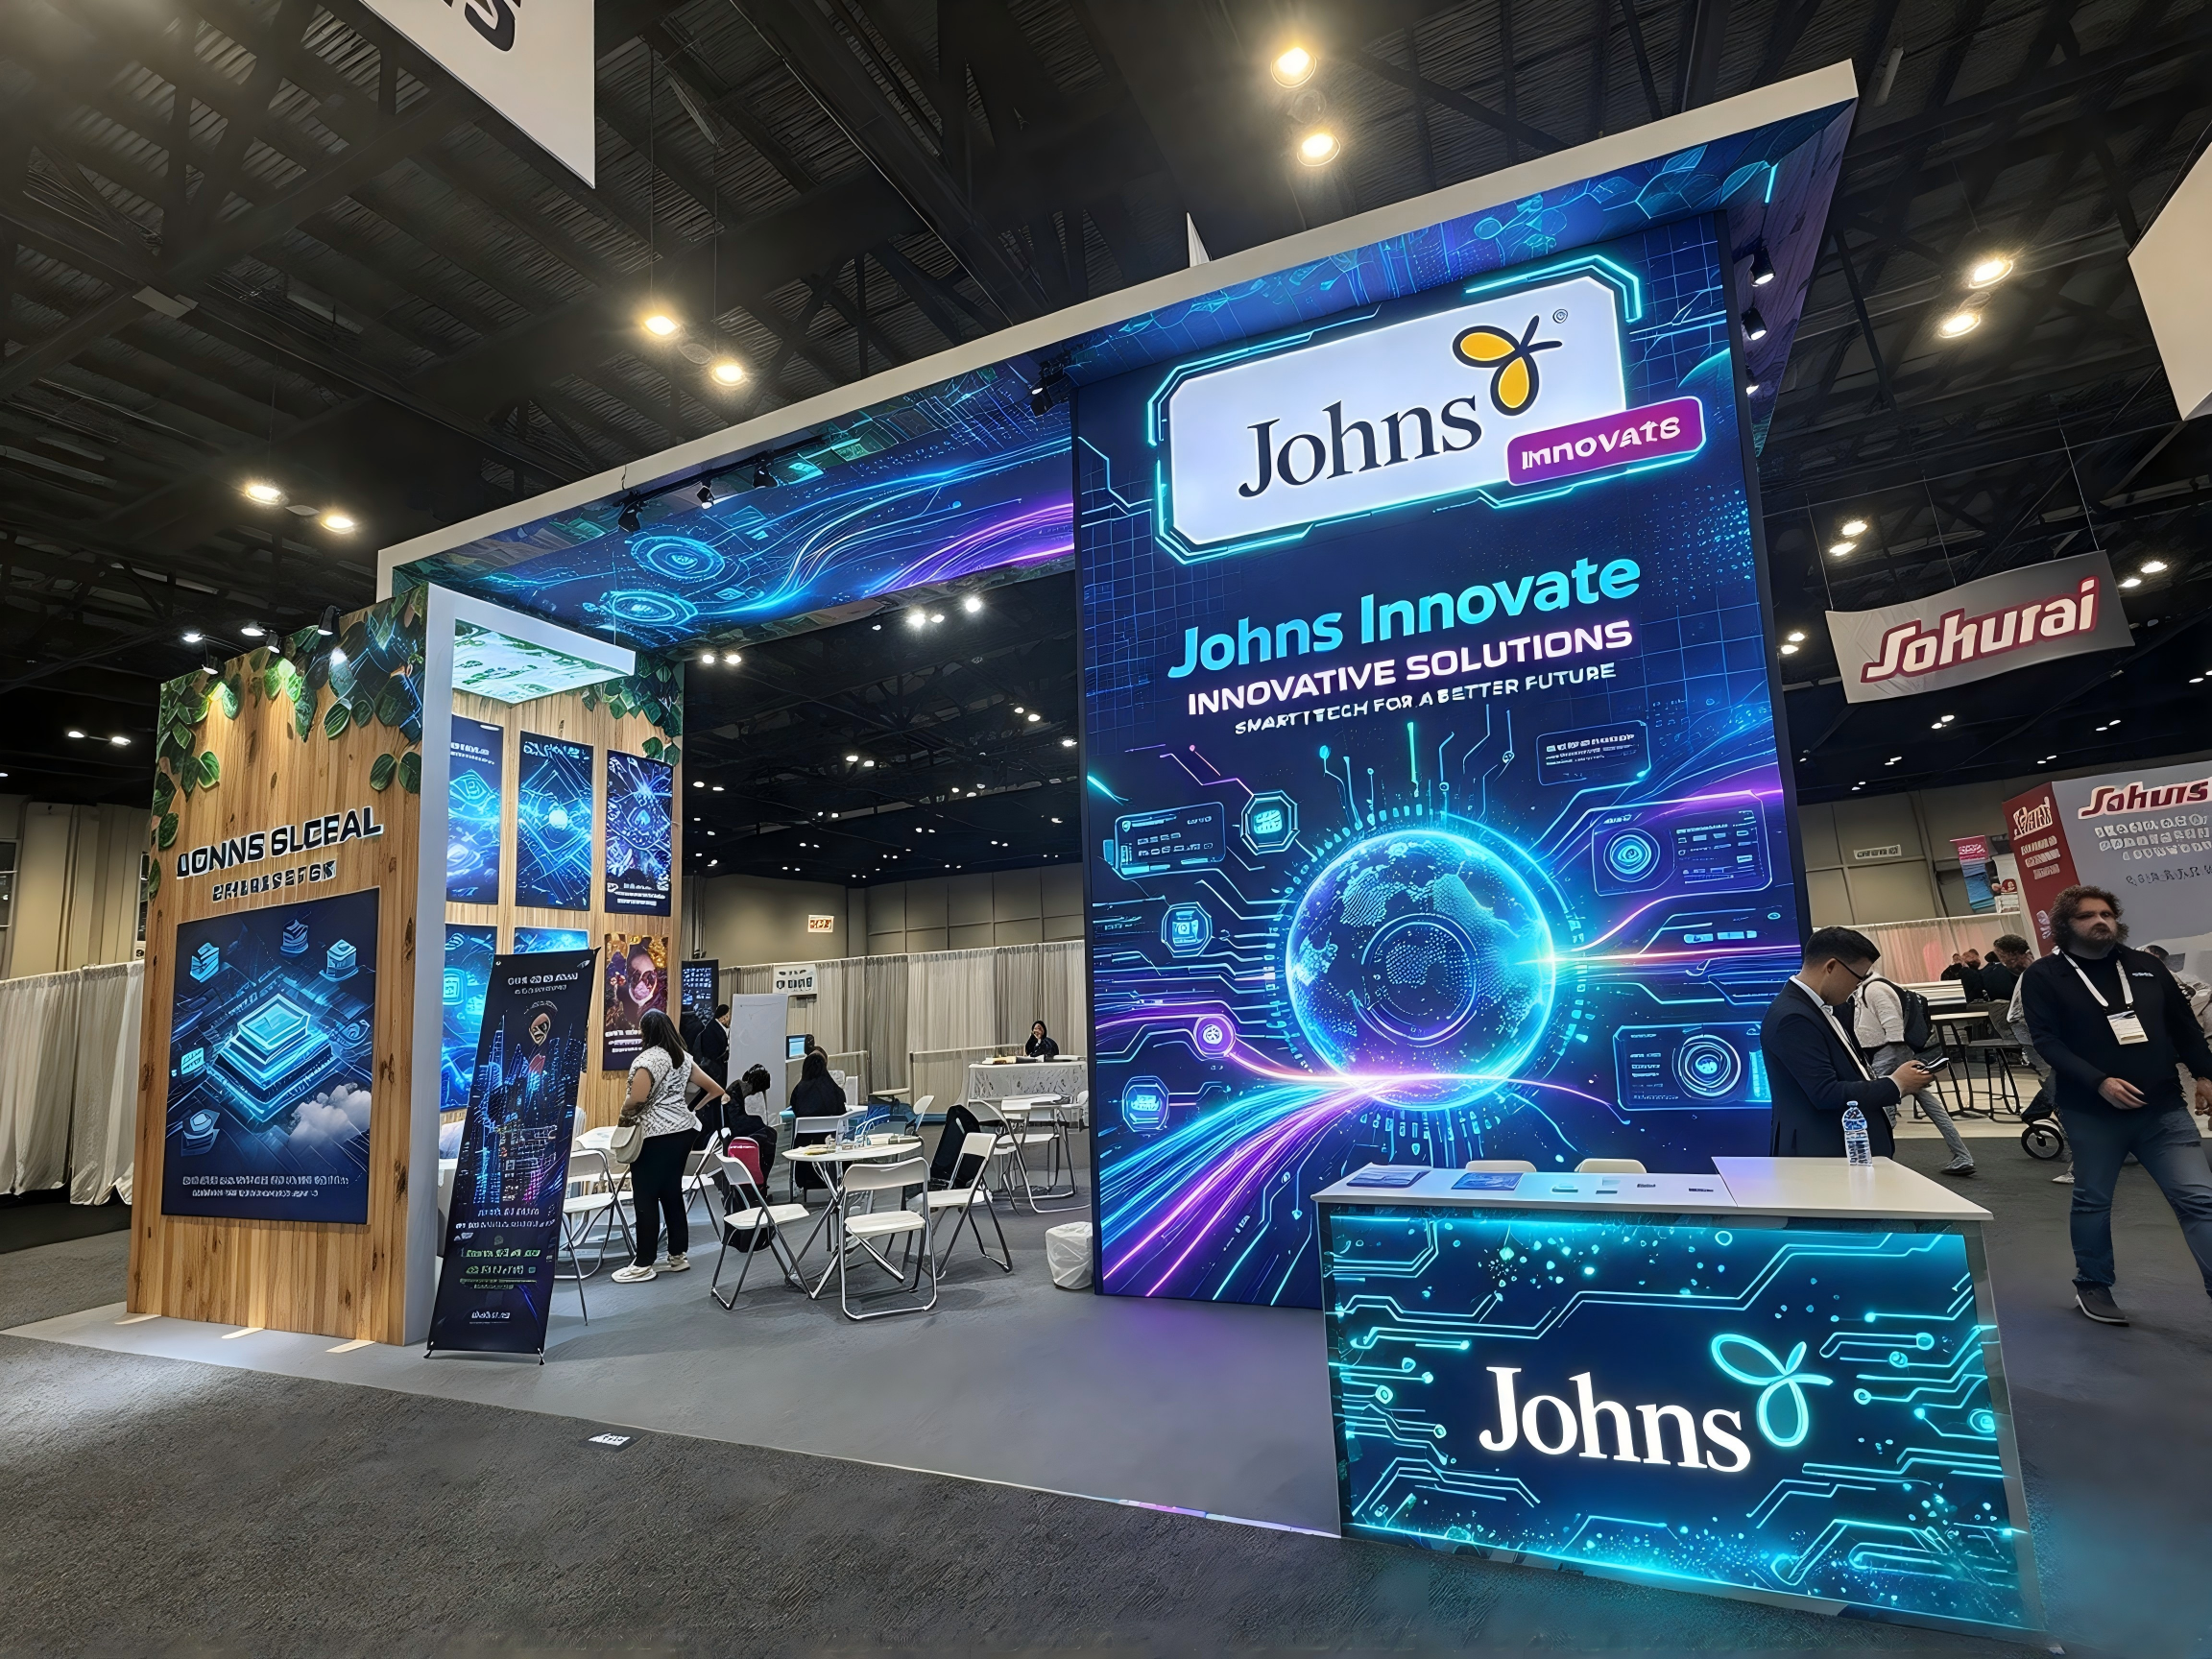
The supplied exhibition images show a booth built using SEG slim lightbox display elements, as identified by QuicklyShow. Tall graphic surfaces, an overhead feature, a reception counter and an interior seating area create a coordinated exhibition environment.
This case examines how these elements work together and outlines the installation checks needed for a similar configuration.
The Display Concept: Connect the Main Graphic Surfaces
The booth uses a consistent blue and purple visual theme across its major display surfaces. Circuit patterns, flowing lines and globe imagery connect the vertical graphics with the counter and overhead artwork.
This continuity helps the booth read as one environment. Each surface has a different role:
- The tall main graphic carries the most prominent brand message.
- The side-facing graphic gives visitors approaching from another direction a second point of recognition.
- The reception counter brings the visual identity down to conversation level.
- The overhead feature defines the booth’s upper outline and extends the graphic theme above the visitor area.
For a similar project, artwork should be prepared separately for each production panel. A continuous visual theme still needs careful alignment around corners, frame edges and changes in viewing angle.
Layout: Keep the Entrance Clear and the Meeting Area Usable
The front counter provides an obvious place for an initial conversation. Behind it, the open area accommodates tables and chairs for longer discussions.
This arrangement supports two different interactions: a brief introduction near the aisle and a more detailed conversation inside the booth.
When adapting the layout, the counter position should leave enough room for visitors to enter without gathering in the aisle. Chairs also need space when occupied or pulled out. The usable floor area should therefore be checked with furniture in its working positions, rather than judged from an empty floor plan.
Tall graphic elements can help organize the space, but their placement should preserve useful sightlines into the booth.
What SEG Adds to the Graphic Finish
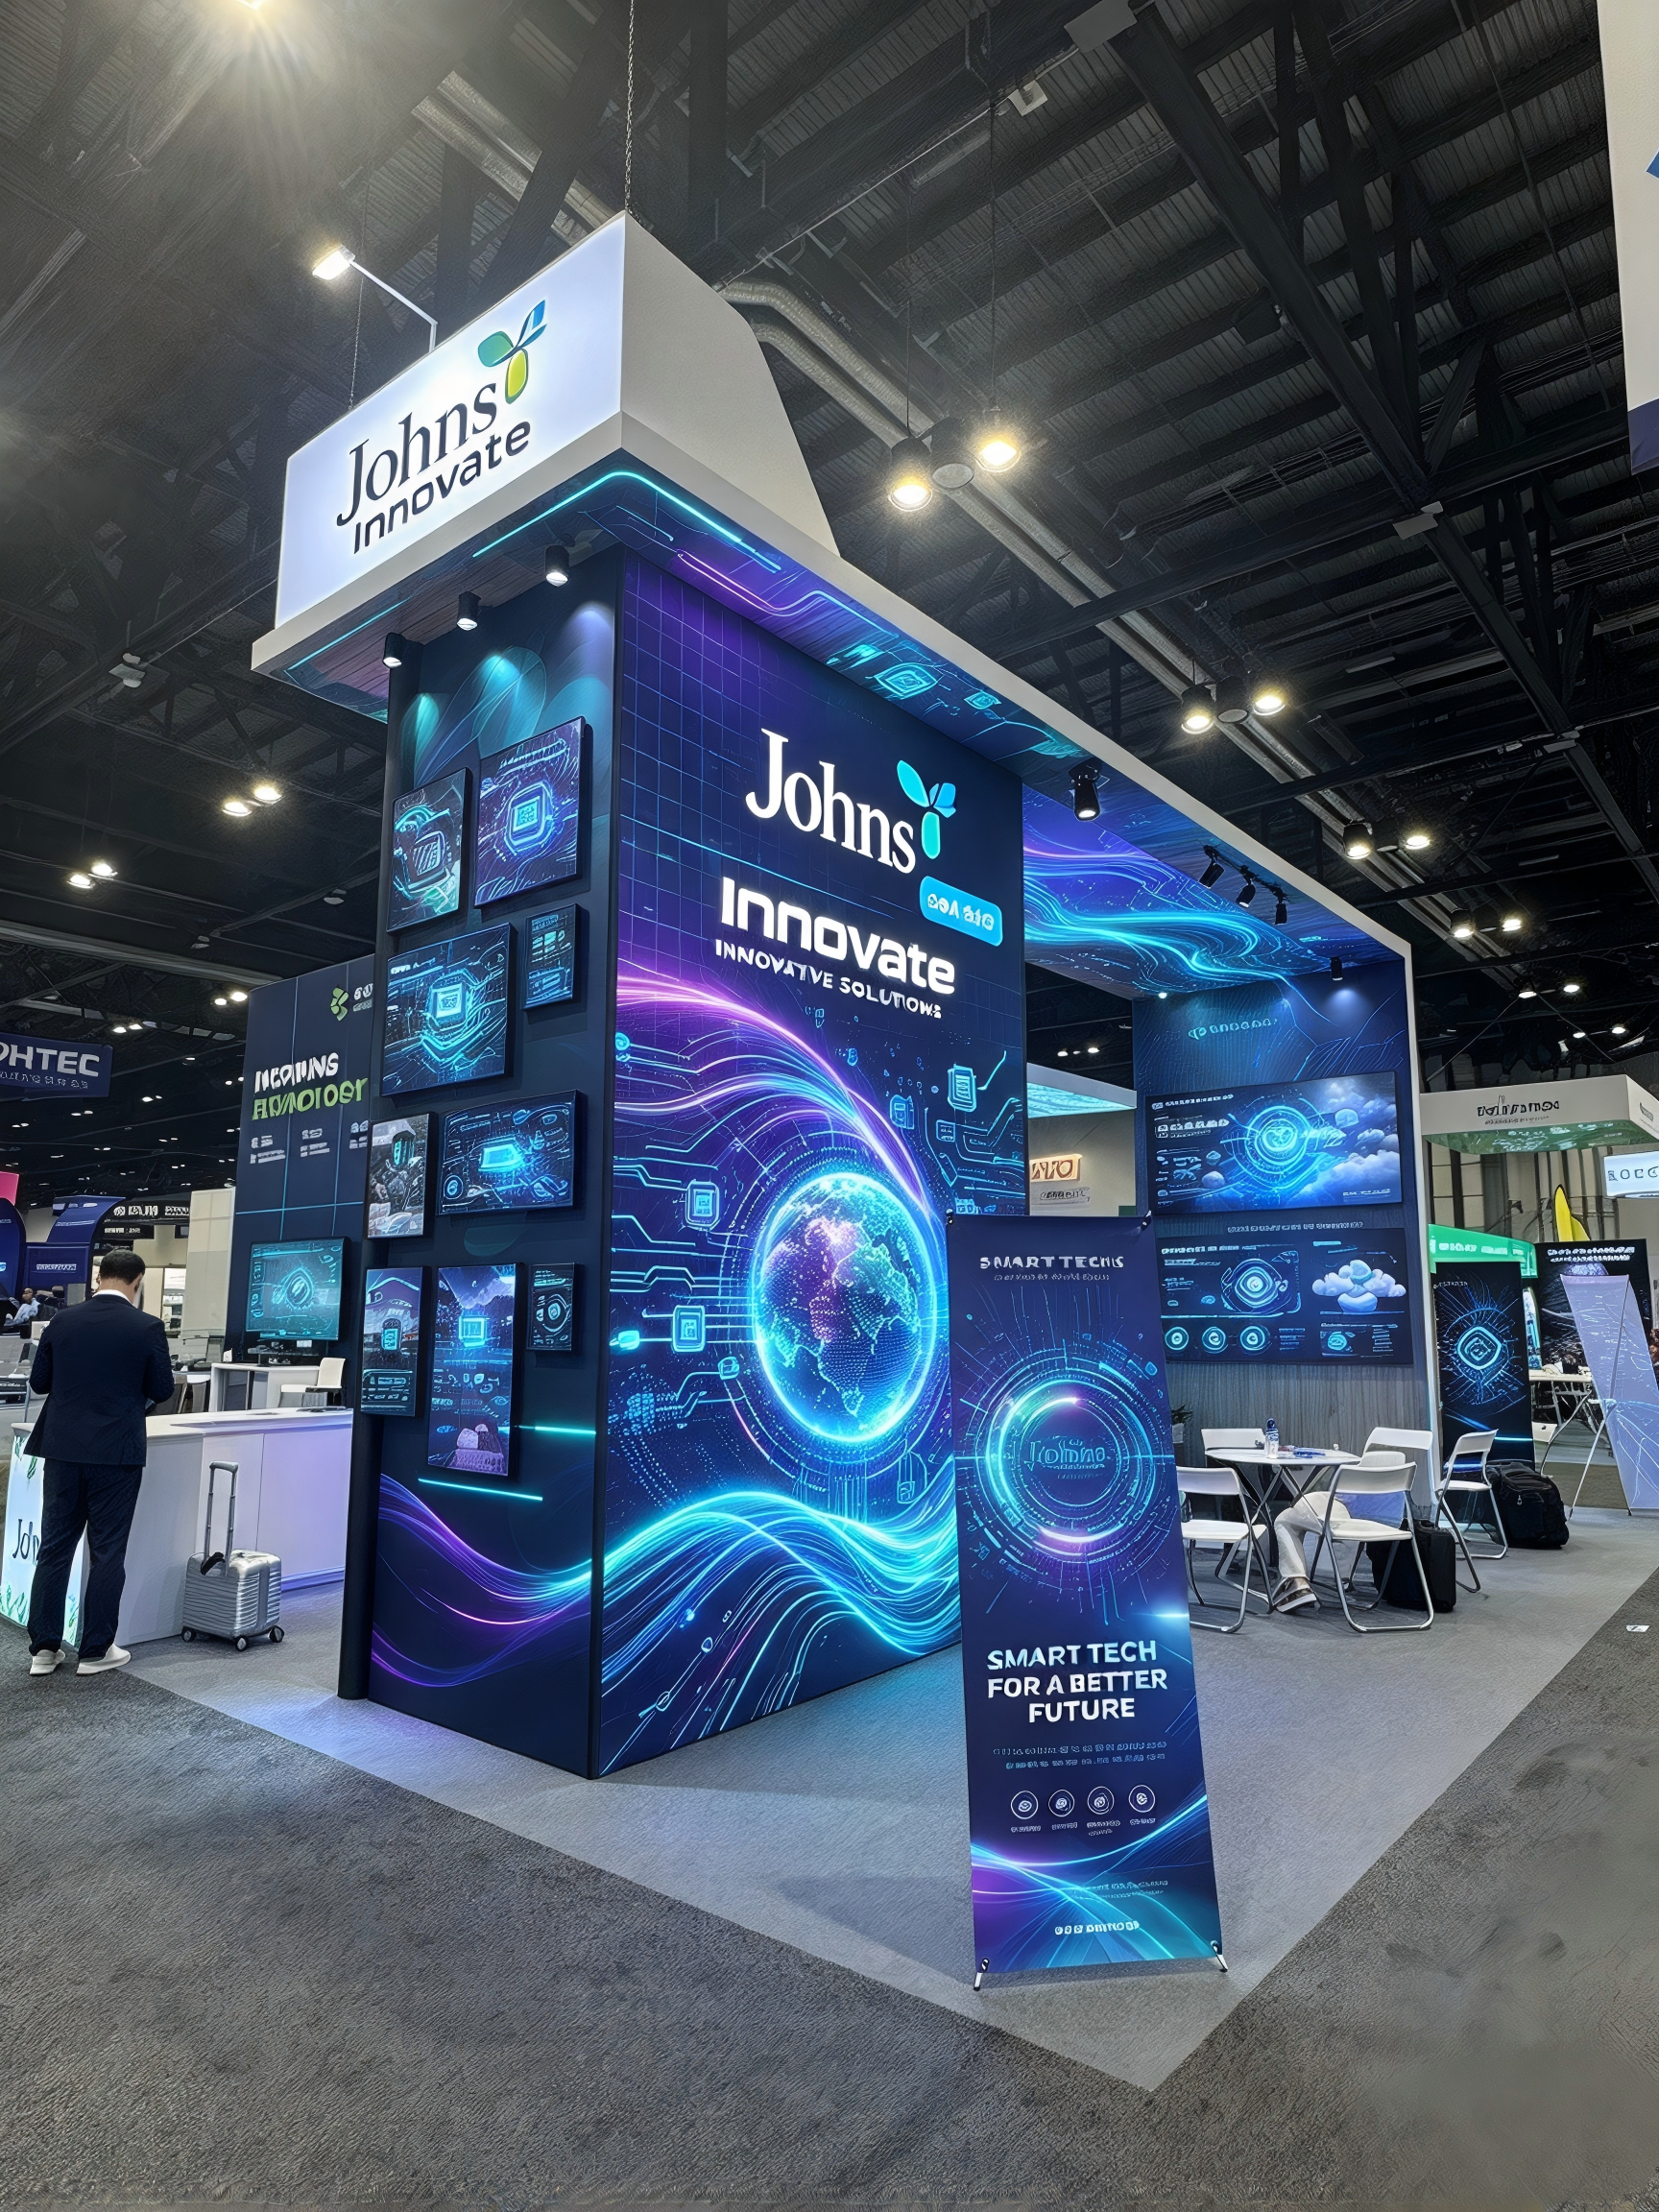
SEG stands for silicone edge graphics. A flexible silicone strip sewn around the fabric perimeter fits into a compatible frame channel, holding the graphic under tension.
For an illuminated display, the printed fabric and lighting system need to be specified together. The intended result depends on more than the brightness of the LEDs: fabric transmission, print density, frame construction and artwork all affect the finished appearance.
The photographs show the completed visual presentation. They do not establish the exact frame depth, electrical specification or connection hardware, so these details should be confirmed against the selected product before production.
Installation Planning for a Similar Booth
1. Confirm the layout and component plan
Identify each frame, graphic, support and electrical component before assembly. Check which elements are freestanding and which form part of a larger connected structure.
An overhead feature requires its own approved support and installation plan. Its appearance in a photograph does not establish how it is supported.
2. Assemble and secure the frames
Follow the instructions for the specified system, checking that connections are fully seated and frames are square before installing the graphics.
Complete the required supports and connections before leaving tall elements standing unattended.
3. Arrange the lighting and power connections
Use the compatible lighting components and power supplies specified for the display. Plan cable routes so that connections remain accessible and cables do not cross visitor circulation areas.
Test the lighting before closing any graphic surfaces that restrict access.
4. Fit the SEG graphics
Check the graphic orientation first. Seat the silicone edge into the frame channel using the sequence recommended for the system, distributing tension evenly around the perimeter.
If the artwork appears skewed or an edge is difficult to seat, check alignment and graphic compatibility before applying additional force.
5. Inspect the complete booth
Check the display from the front, both aisle approaches and inside the booth. Look for uneven tension, visible light gaps, inconsistent illumination and interrupted artwork alignment.
Finish by checking the counter position, furniture clearance and cable routing.
Balance Illumination with Readable Artwork
The technology theme in these images uses bright accents against dark backgrounds. This creates a strong visual hierarchy, with large brand text above more detailed imagery.
For production artwork, keep the primary message readable from the aisle. Smaller diagrams and supporting information belong where visitors can comfortably move closer.
Backlit graphics should also be checked with an illuminated print sample where practical. A file viewed on a monitor cannot fully predict how the finished fabric will look when lit.
Planning Graphics for Future Events
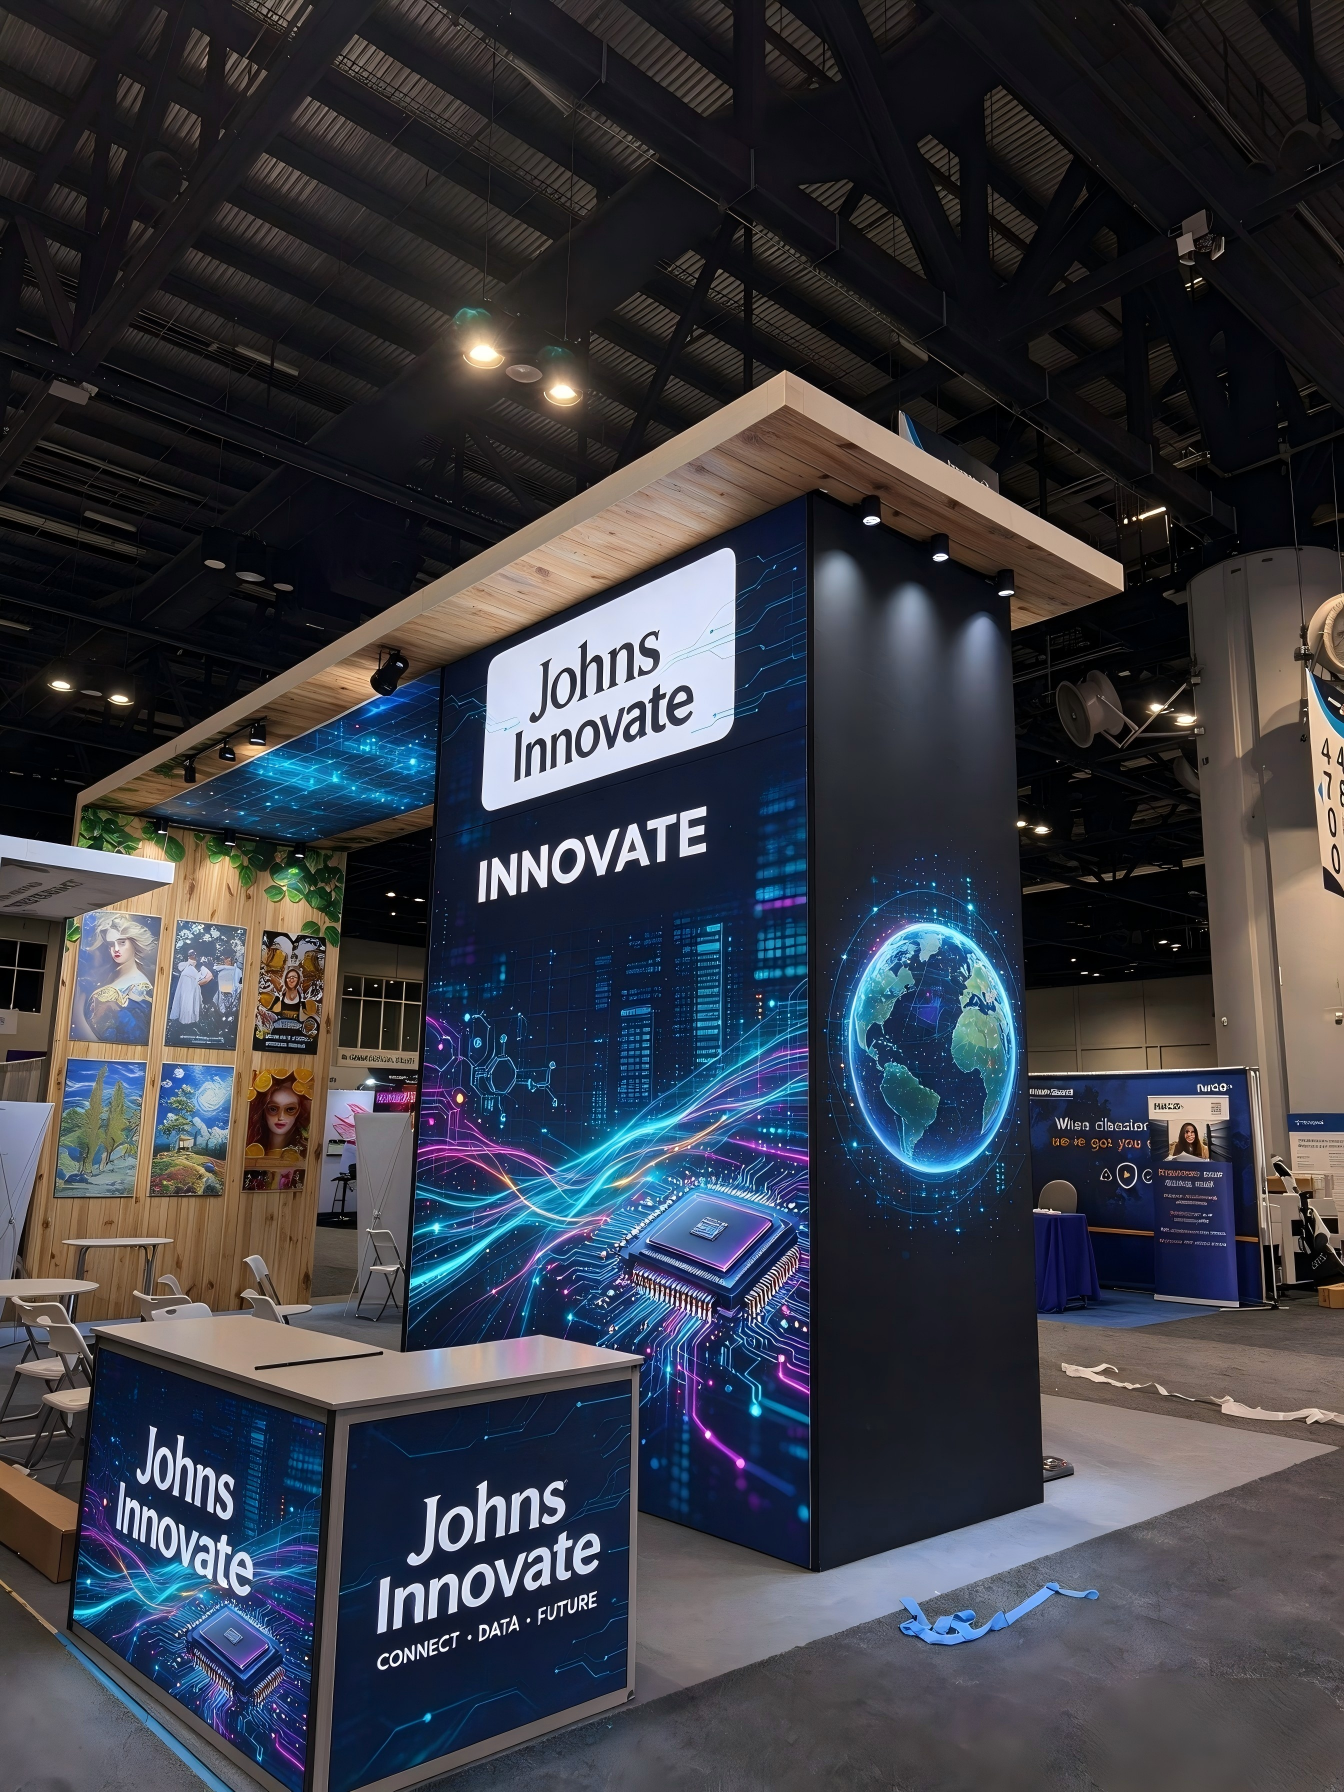
A compatible SEG system can allow fabric graphics to be replaced while retaining serviceable display hardware. Before ordering replacement graphics, confirm the exact frame dimensions, silicone edge specification and artwork template.
For different events, the same visual framework can support a new campaign message, product launch or regional presentation. Any change to the booth arrangement also requires a fresh check of supports, connections and electrical routing.
Plan Your SEG Lightbox Booth
Start with the booth dimensions, open sides, permitted height and the functions the space needs to accommodate. These details help determine the placement of illuminated graphics, the reception counter and the meeting area.
Explore QuicklyShow’s Lightbox range, or contact the team to discuss a suitable configuration. If your artwork is ready, you can upload your graphic files for review.
