
No products in the cart.
CES Pop-Up Lightbox Booth Case: From Setup Preparation to Product Presentation
An exhibition booth needs to make its products understandable while giving visitors room to approach, explore and talk. This CES application combines illuminated product graphics, presentation counters and a compact meeting area within an open booth layout.
QuicklyShow supplied these photographs and identified the project as a pop-up lightbox installation at CES in the United States. The images document both setup preparation and the booth in use, showing how the display surfaces and furniture contribute to the finished presentation.
Project Overview
The booth uses a large illuminated rear graphic and a shorter perpendicular graphic surface to organize its product messaging. White counters provide working surfaces, while an open area accommodates a small table and chairs.
The artwork presents two different applications: wireless screen sharing and hearing-related products. Each receives its own graphic area, allowing the booth to communicate more than one product category without placing every message on a single panel.
Setup Preparation: Establish the Display Positions First
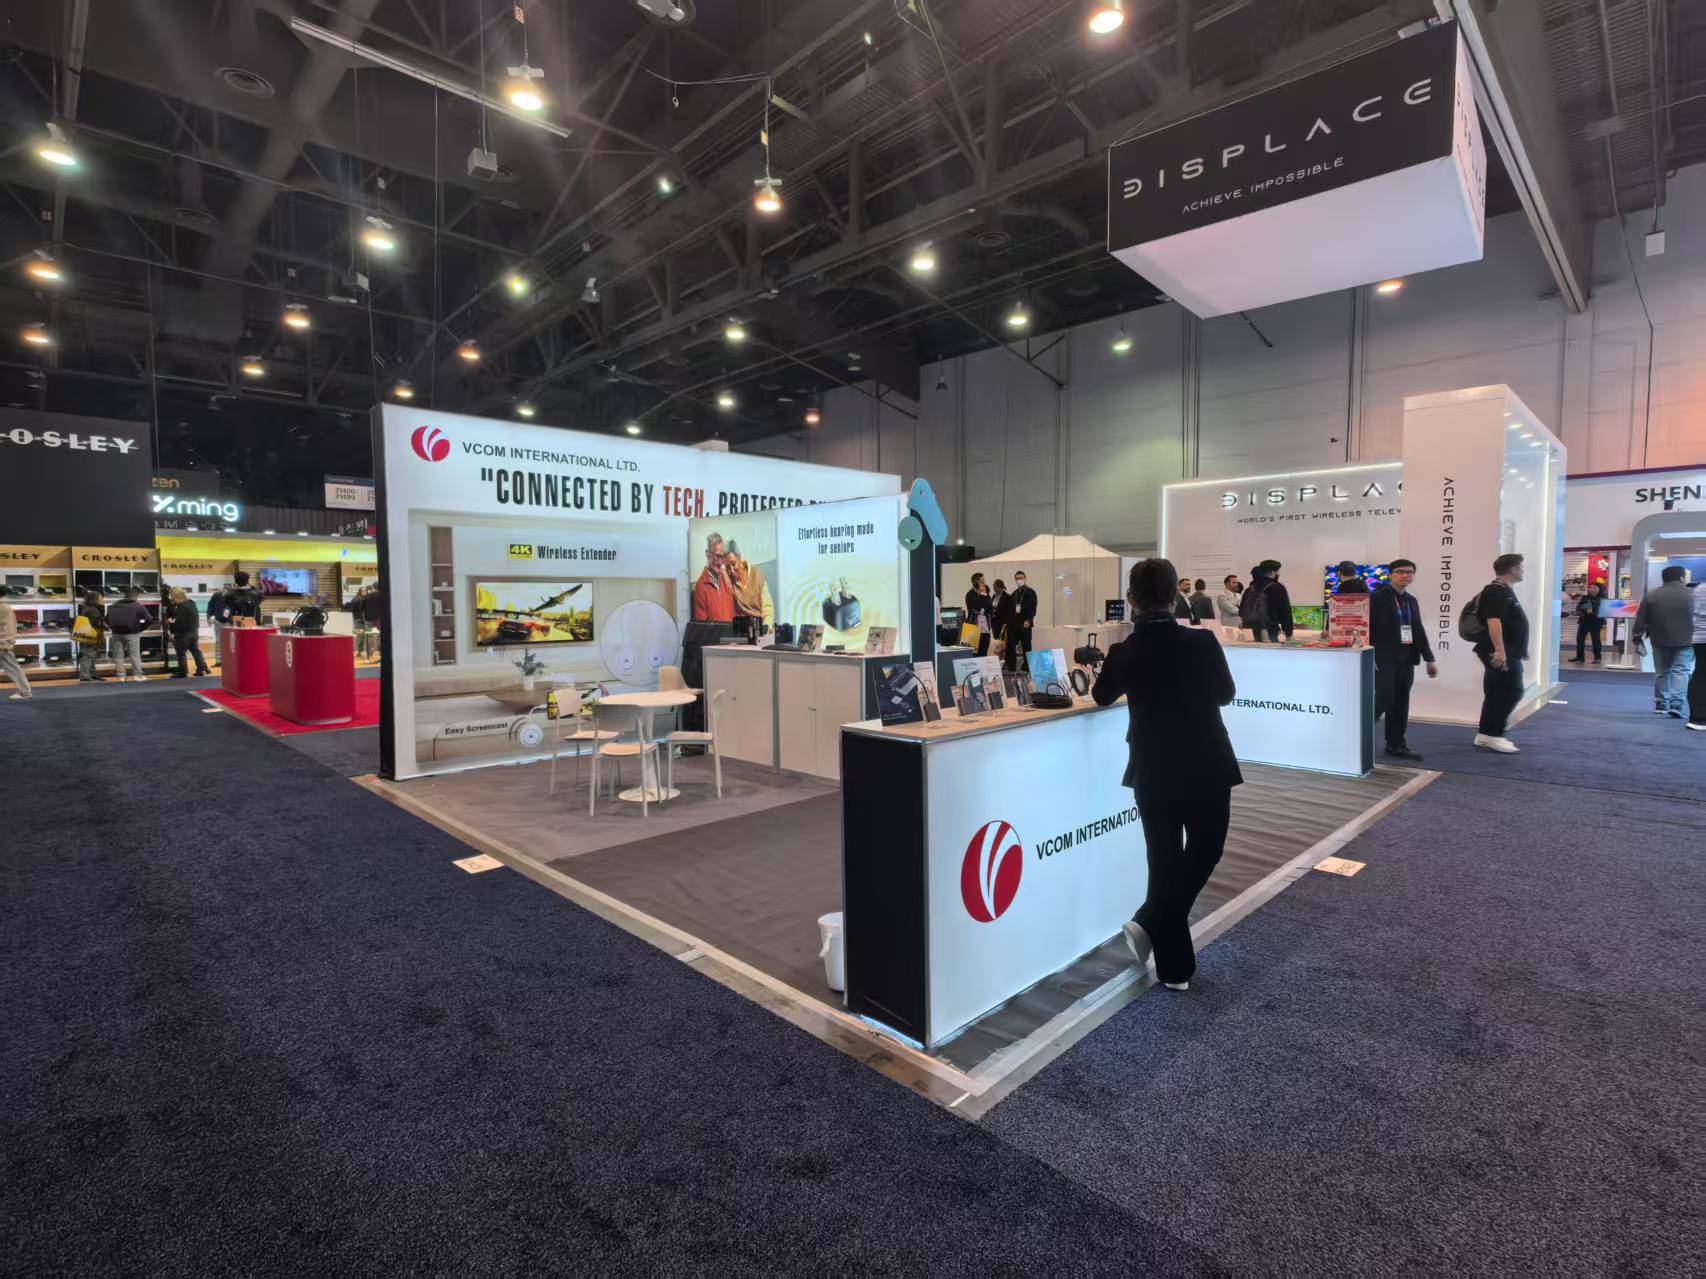
The preparation-stage photograph shows the main graphic surfaces and counters in position, with packaging and personal items still present. It records an intermediate stage before the space was ready for visitors.
At this point in a comparable installation, the team should check the relationship between the main wall, perpendicular display and counters. Furniture placement affects how much of the artwork remains visible and how easily visitors can enter.
The photographs do not show the internal frame assembly, so they cannot establish the original construction sequence, crew size or installation time.
Use Product Scenarios to Explain the Message
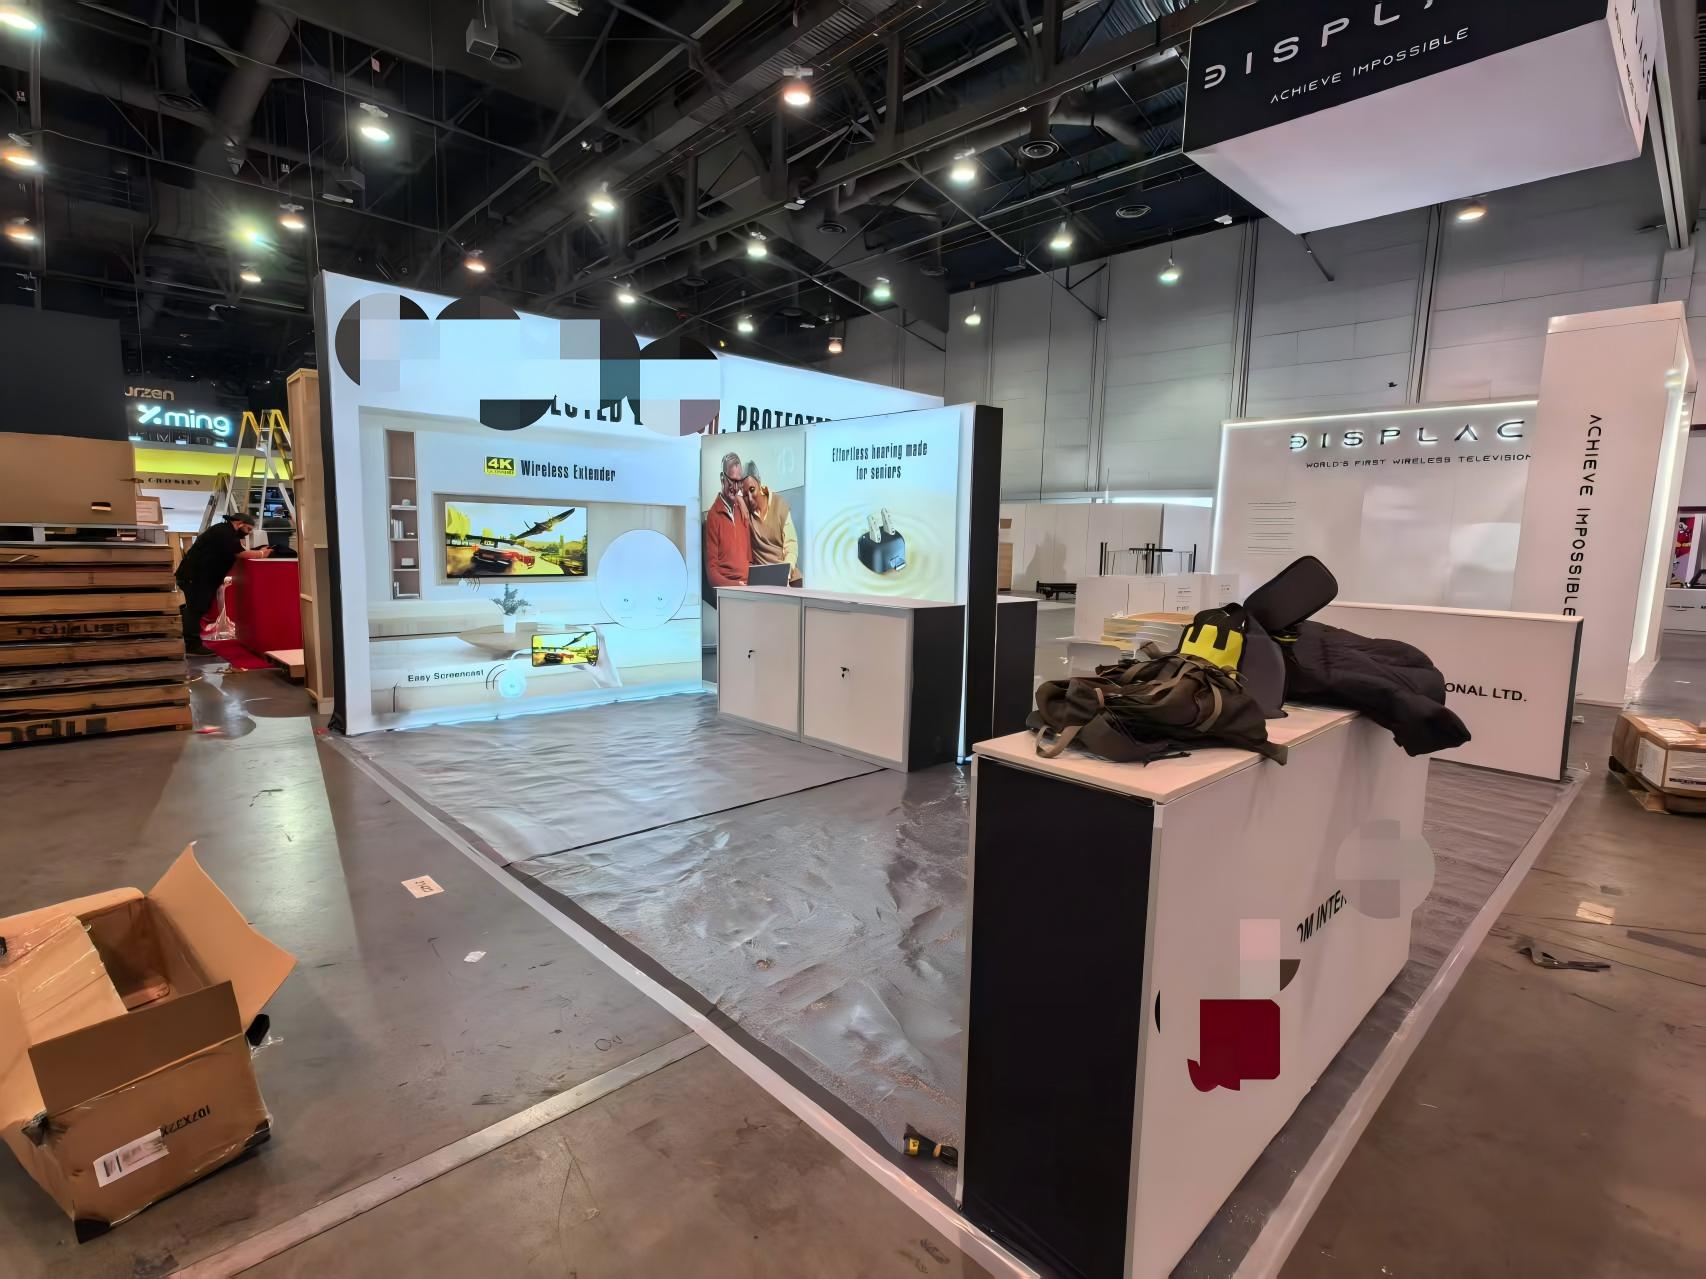
The main graphic places the wireless screen-sharing product within a living-room scene. A television, mobile device and enlarged product illustration connect the product to a recognizable use situation.
This gives visitors several levels of information. From farther away, the room scene establishes the application. At closer range, the product illustration and short text provide additional context.
The adjacent graphic uses lifestyle imagery and a separate product presentation. Its perpendicular orientation creates another communication surface while helping distinguish the two product messages.
The product statements printed in the artwork describe the exhibitor’s offering. They are not performance claims for the display system.
Coordinate the Counters with the Graphic Walls
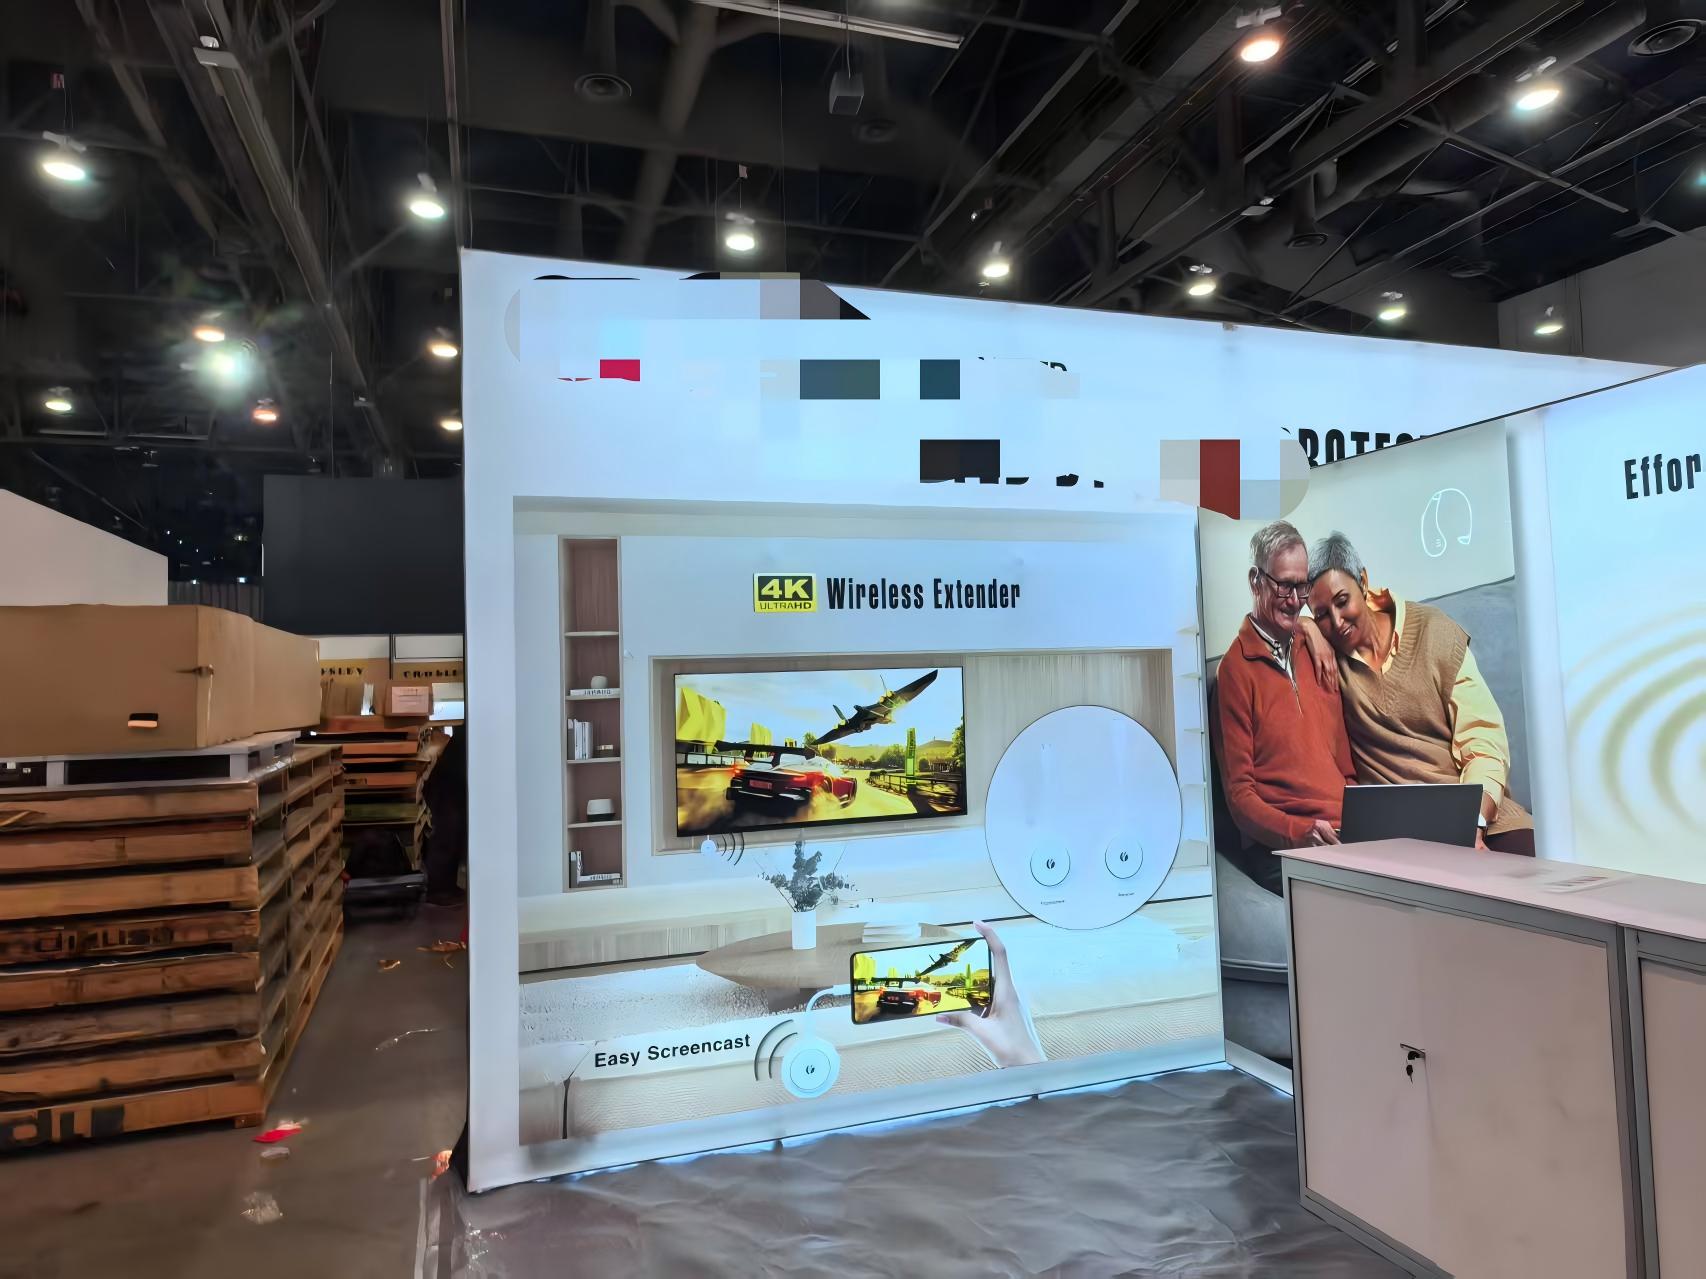
The finished booth photograph shows product literature and display items arranged on the front counter. Visitors can move from seeing the larger graphic message to examining information at a comfortable height.
The white counter finishes also connect visually with the pale backgrounds of the illuminated graphics. Dark side panels give the counters a defined outline.
For a similar layout, keep essential artwork above any counter that sits in front of it. Product names, key benefits and important images should remain visible after brochures, samples and equipment are added.
The counter construction and load capacity should be confirmed separately when planning the display.
Installation Checks for a Similar Pop-Up Lightbox Booth
1. Confirm the component and floor plans
Identify the frame sections, graphics, compatible lighting components, power supplies and supports. Check the intended positions of the walls, counters and meeting furniture before assembly.
2. Expand and secure the display structure
Follow the selected system’s instructions to expand the pop-up frame and engage its required locks or connectors. Install the specified supports and approved connections between display sections.
The finished corner arrangement should not be used as a substitute for a structural connection plan.
3. Fit and test the lighting
Install the lighting components specified for the system. Check the connections and cable routes before fitting graphics that limit access.
Keep power connections accessible and route cables away from visitor circulation areas.
4. Install and inspect the graphics
Use the attachment method specified for the actual model. These photographs show the finished surfaces but do not reveal the graphic fastening detail.
Check graphic orientation, edge alignment and tension. Inspect the illuminated fabric for uneven seating, visible gaps or areas that need adjustment.
5. Complete the visitor-facing presentation
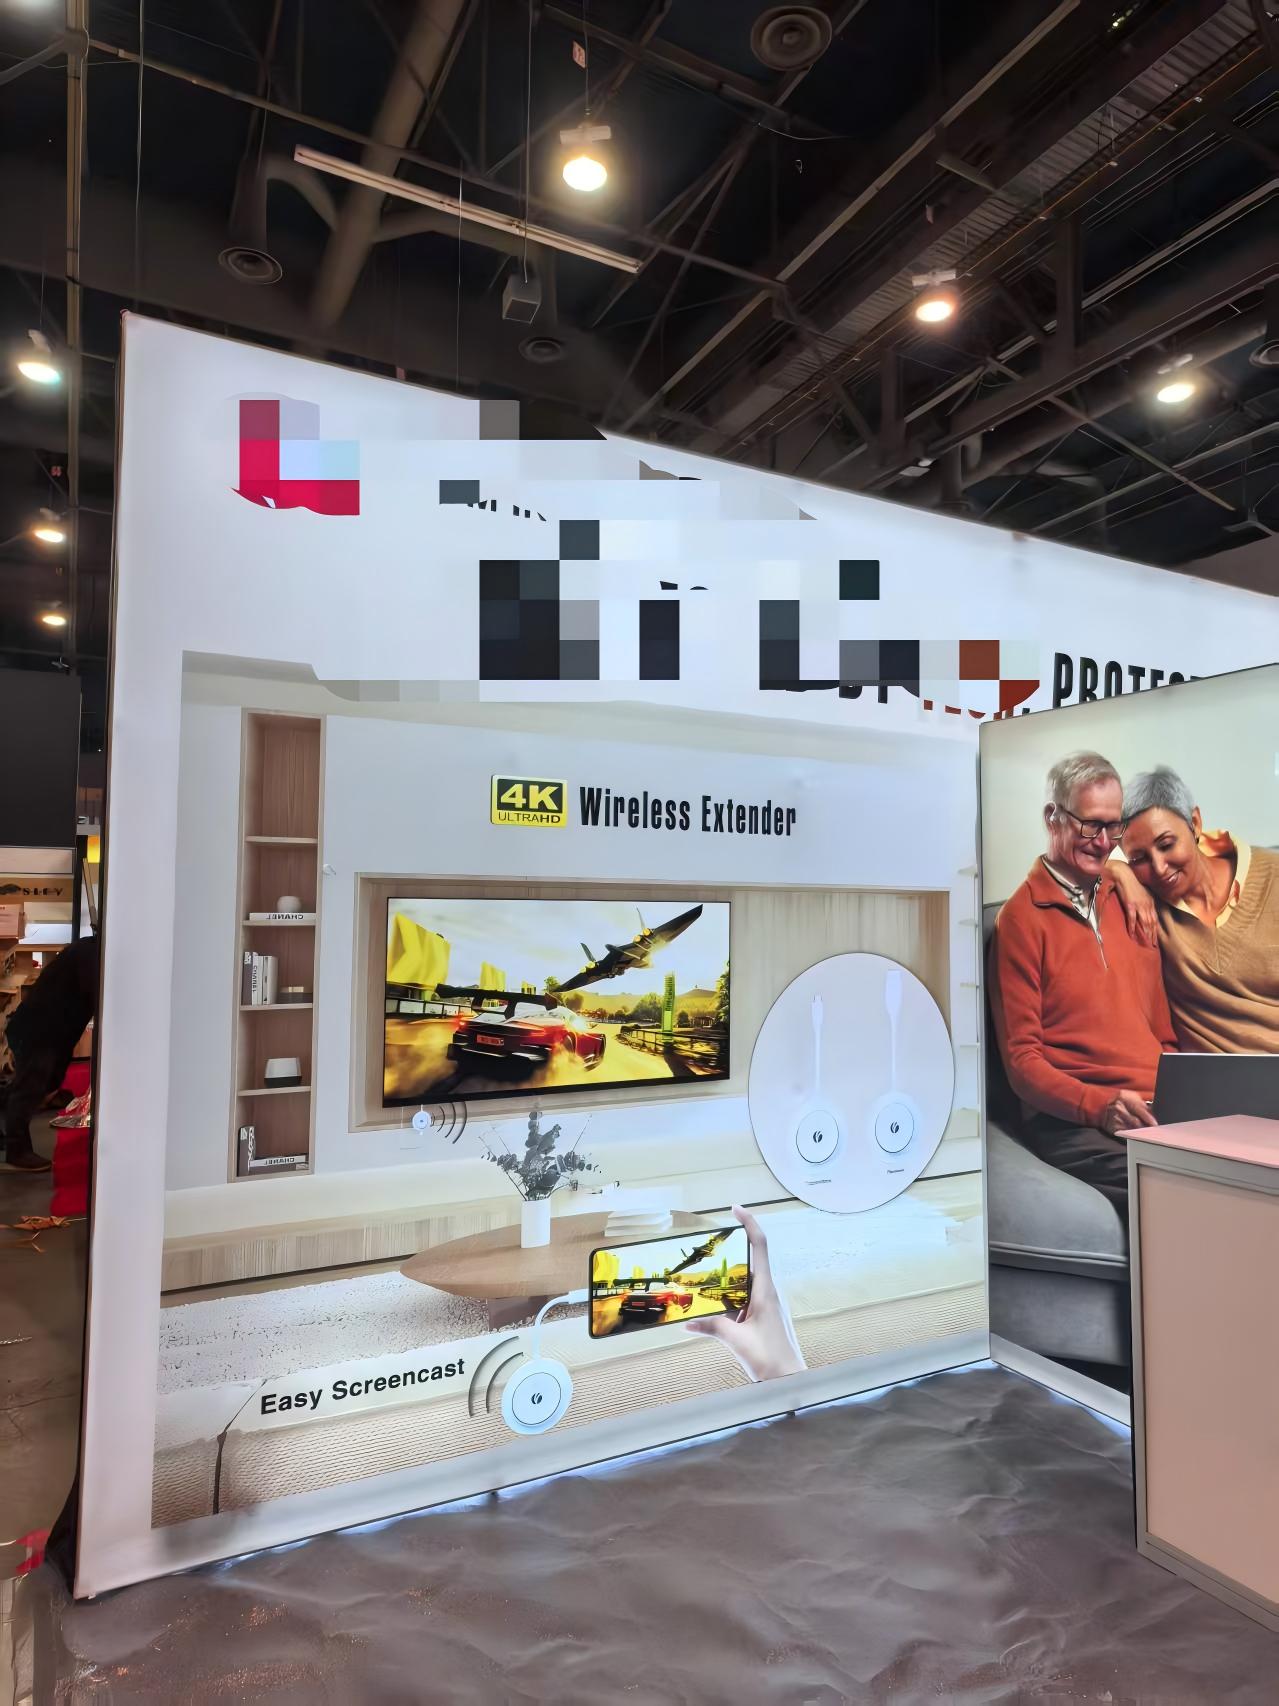
Clear packaging and temporary items, arrange product materials and check the floor finish. Position chairs in their working locations to confirm that visitors can sit down and move through the booth comfortably.
Finally, view the booth from the aisle and from inside the space. Both perspectives help identify information hidden by furniture or display items.
What This Application Demonstrates
This case shows how illuminated graphic surfaces can introduce different product applications within one booth. The large rear display establishes the main message, the perpendicular surface adds another product story, and the counters support closer conversations.
The setup and finished photographs also demonstrate why final presentation deserves its own inspection. A booth becomes ready for visitors when the graphics, furniture, product materials and circulation space work together.
The images document the physical presentation; visitor traffic, sales results and other commercial outcomes were not supplied.
Plan Your Pop-Up Lightbox Booth
Start with your booth dimensions, open sides, product categories and presentation needs. These details help determine the graphic arrangement, counter positions and space available for meetings.
Explore QuicklyShow’s Lightbox range, or contact the team to discuss a suitable configuration. You can also upload your artwork for review.
